GitHub Personal Access Token
Struggling with the setup of GitHub?
If we can support you to setup GitHub, get in touch with us via Email and we will schedule a call for a walk through.
Create a GitHub Personal Access Token
Here are the step-by-step instructions to set up a GitHub personal access token (PAT):
Important
Treat your access tokens like passwords and keep them secure (e.g., in password management software).
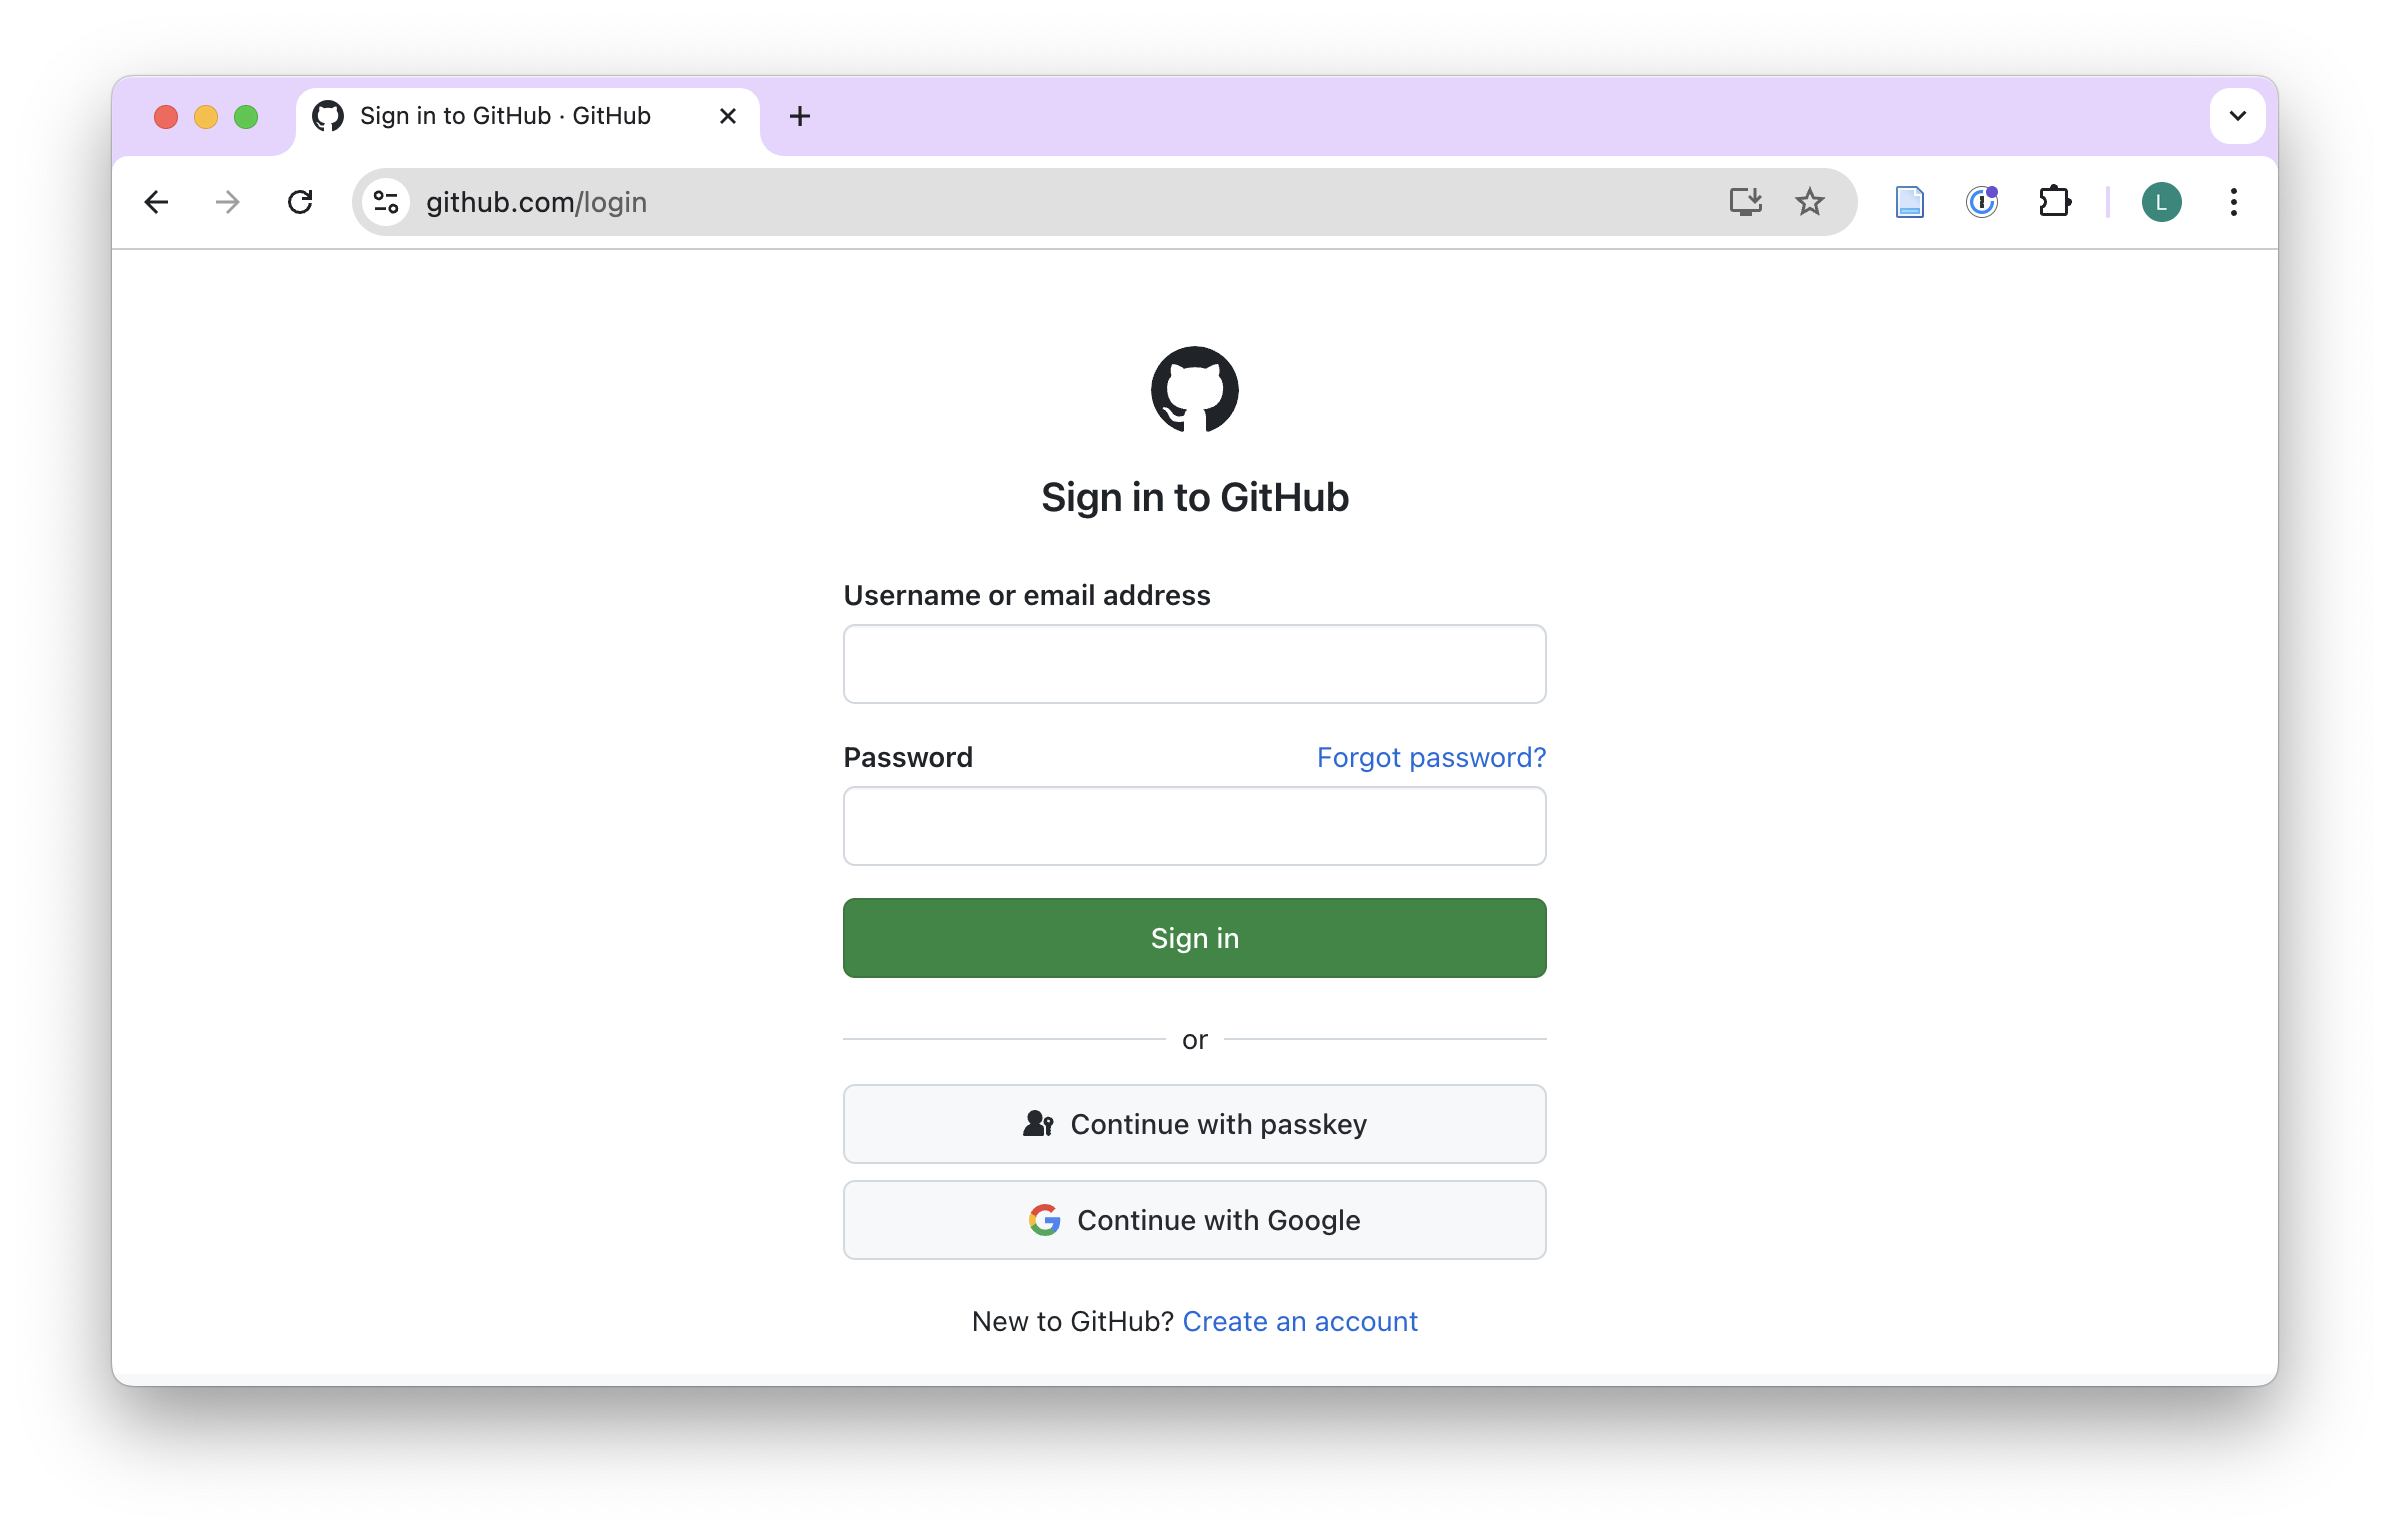
- Log in to your GitHub account.
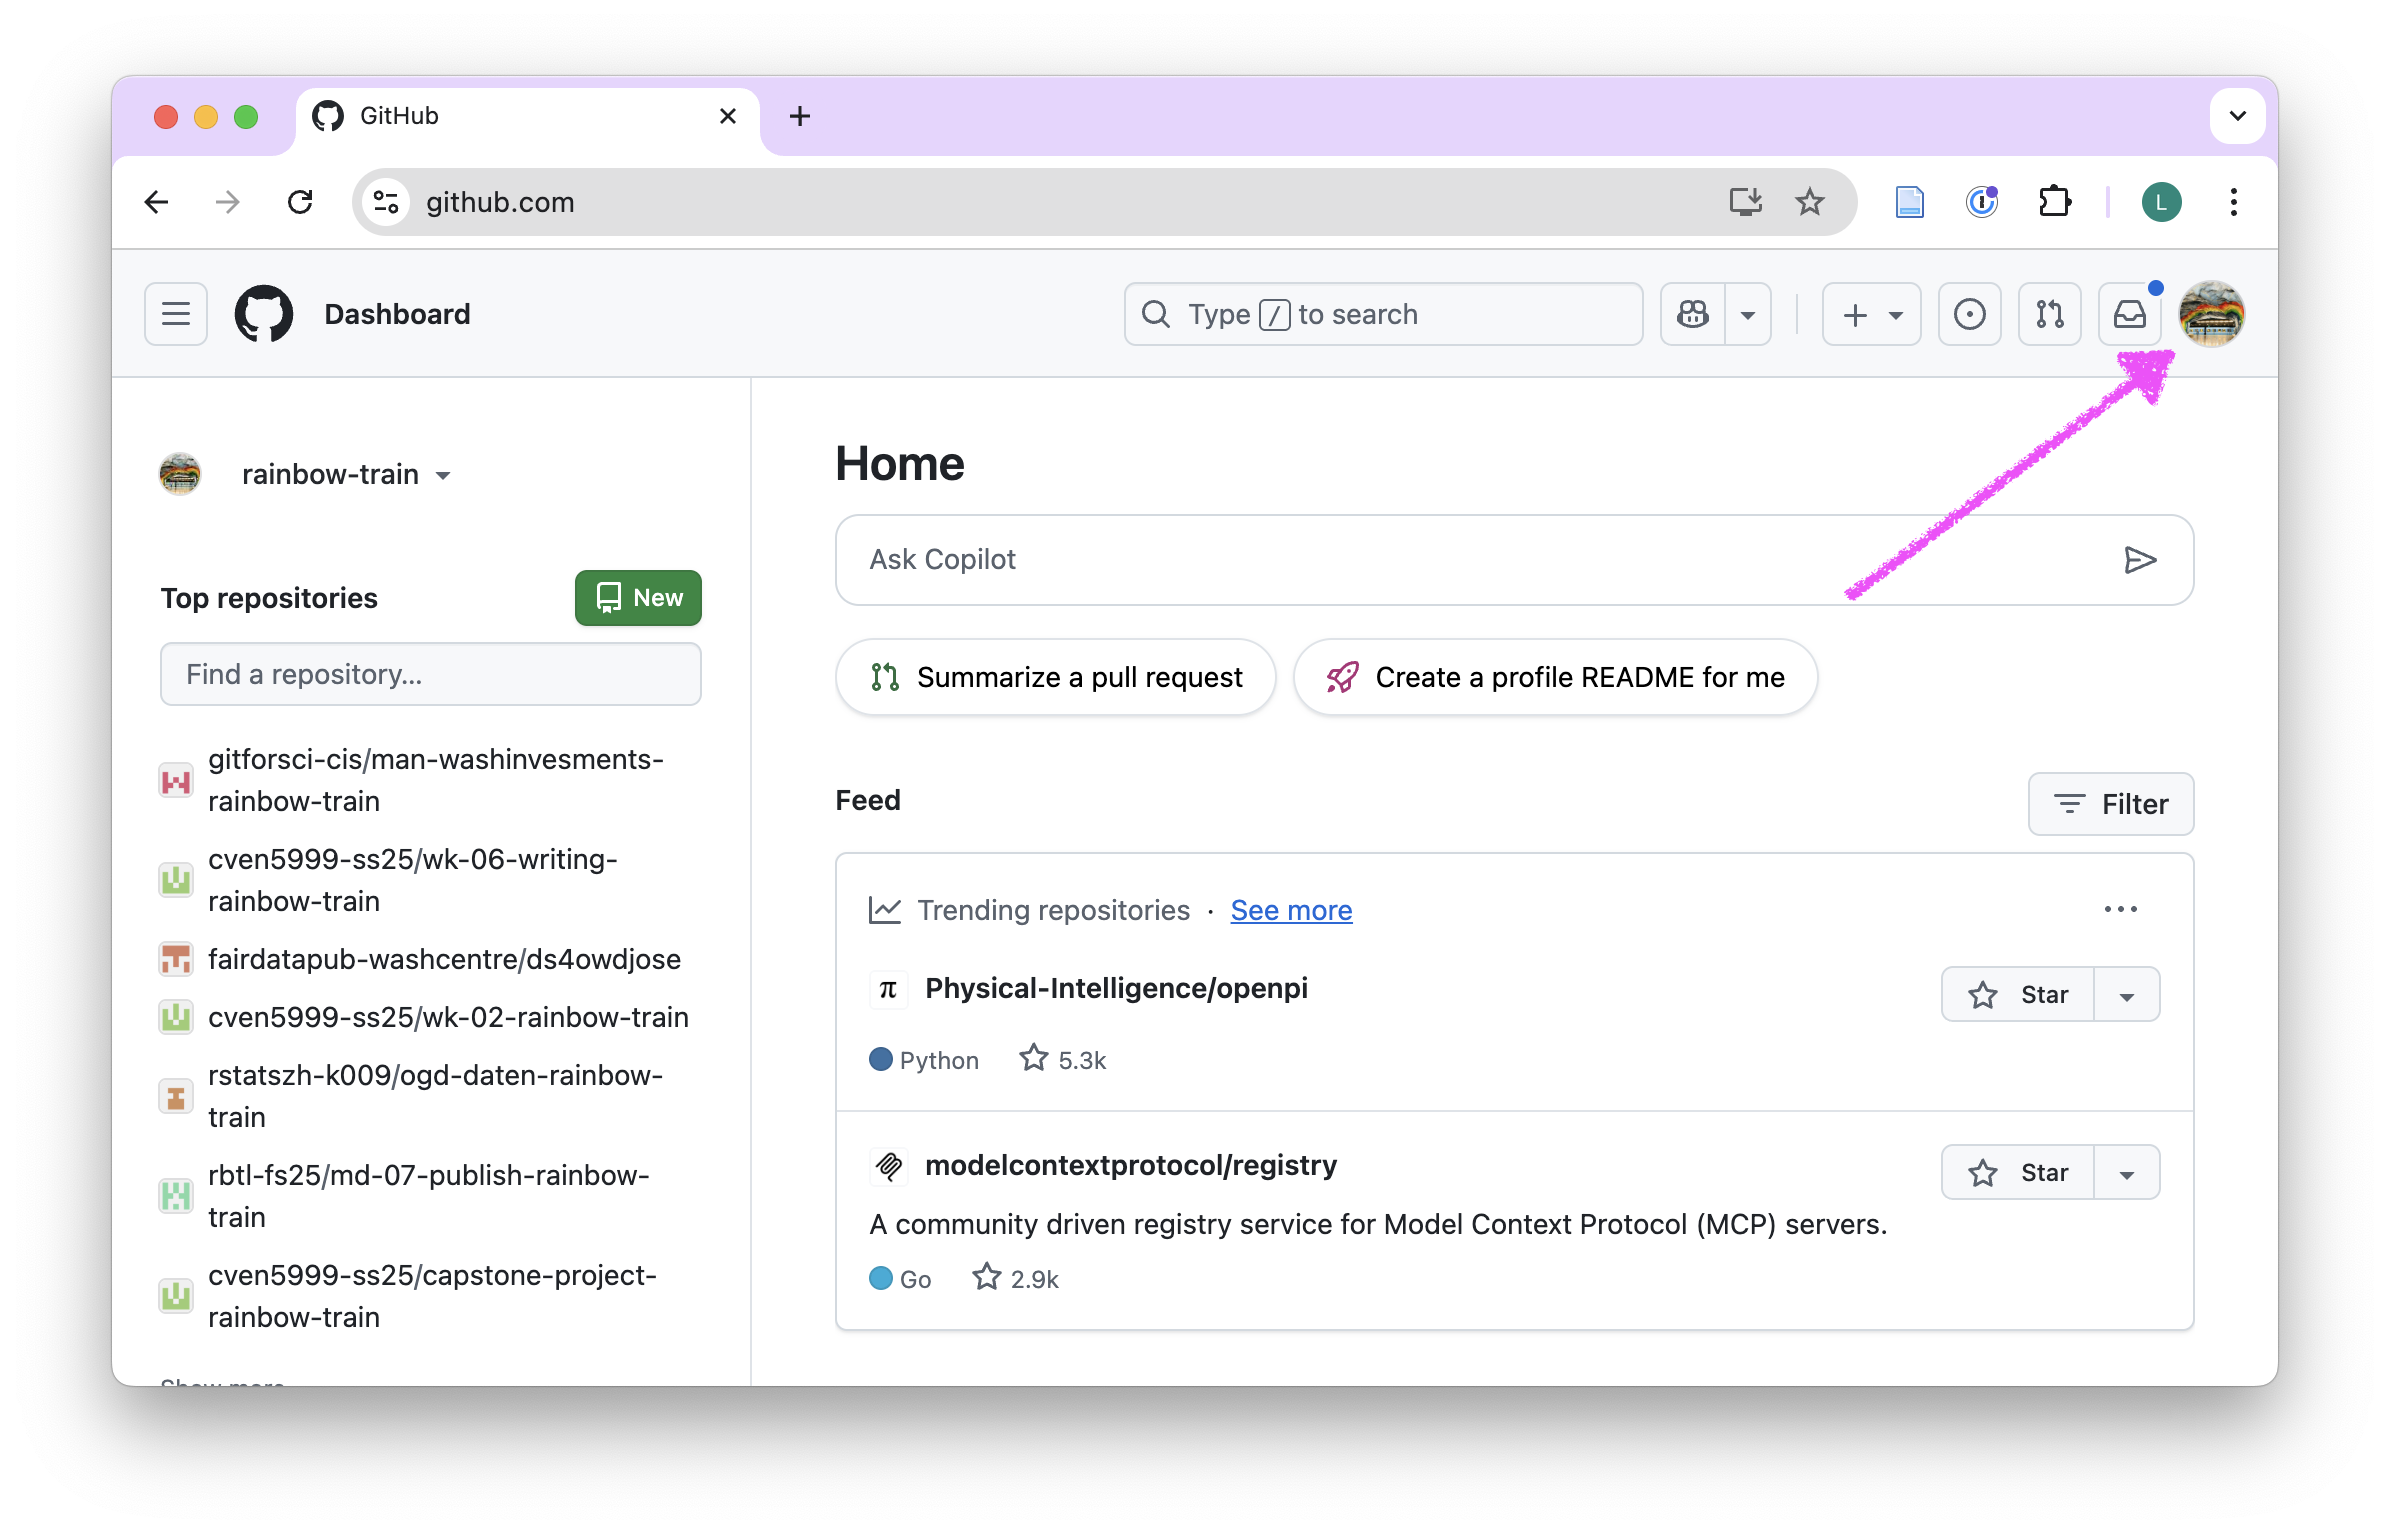
- Click on your profile picture in the top-right corner of the page.
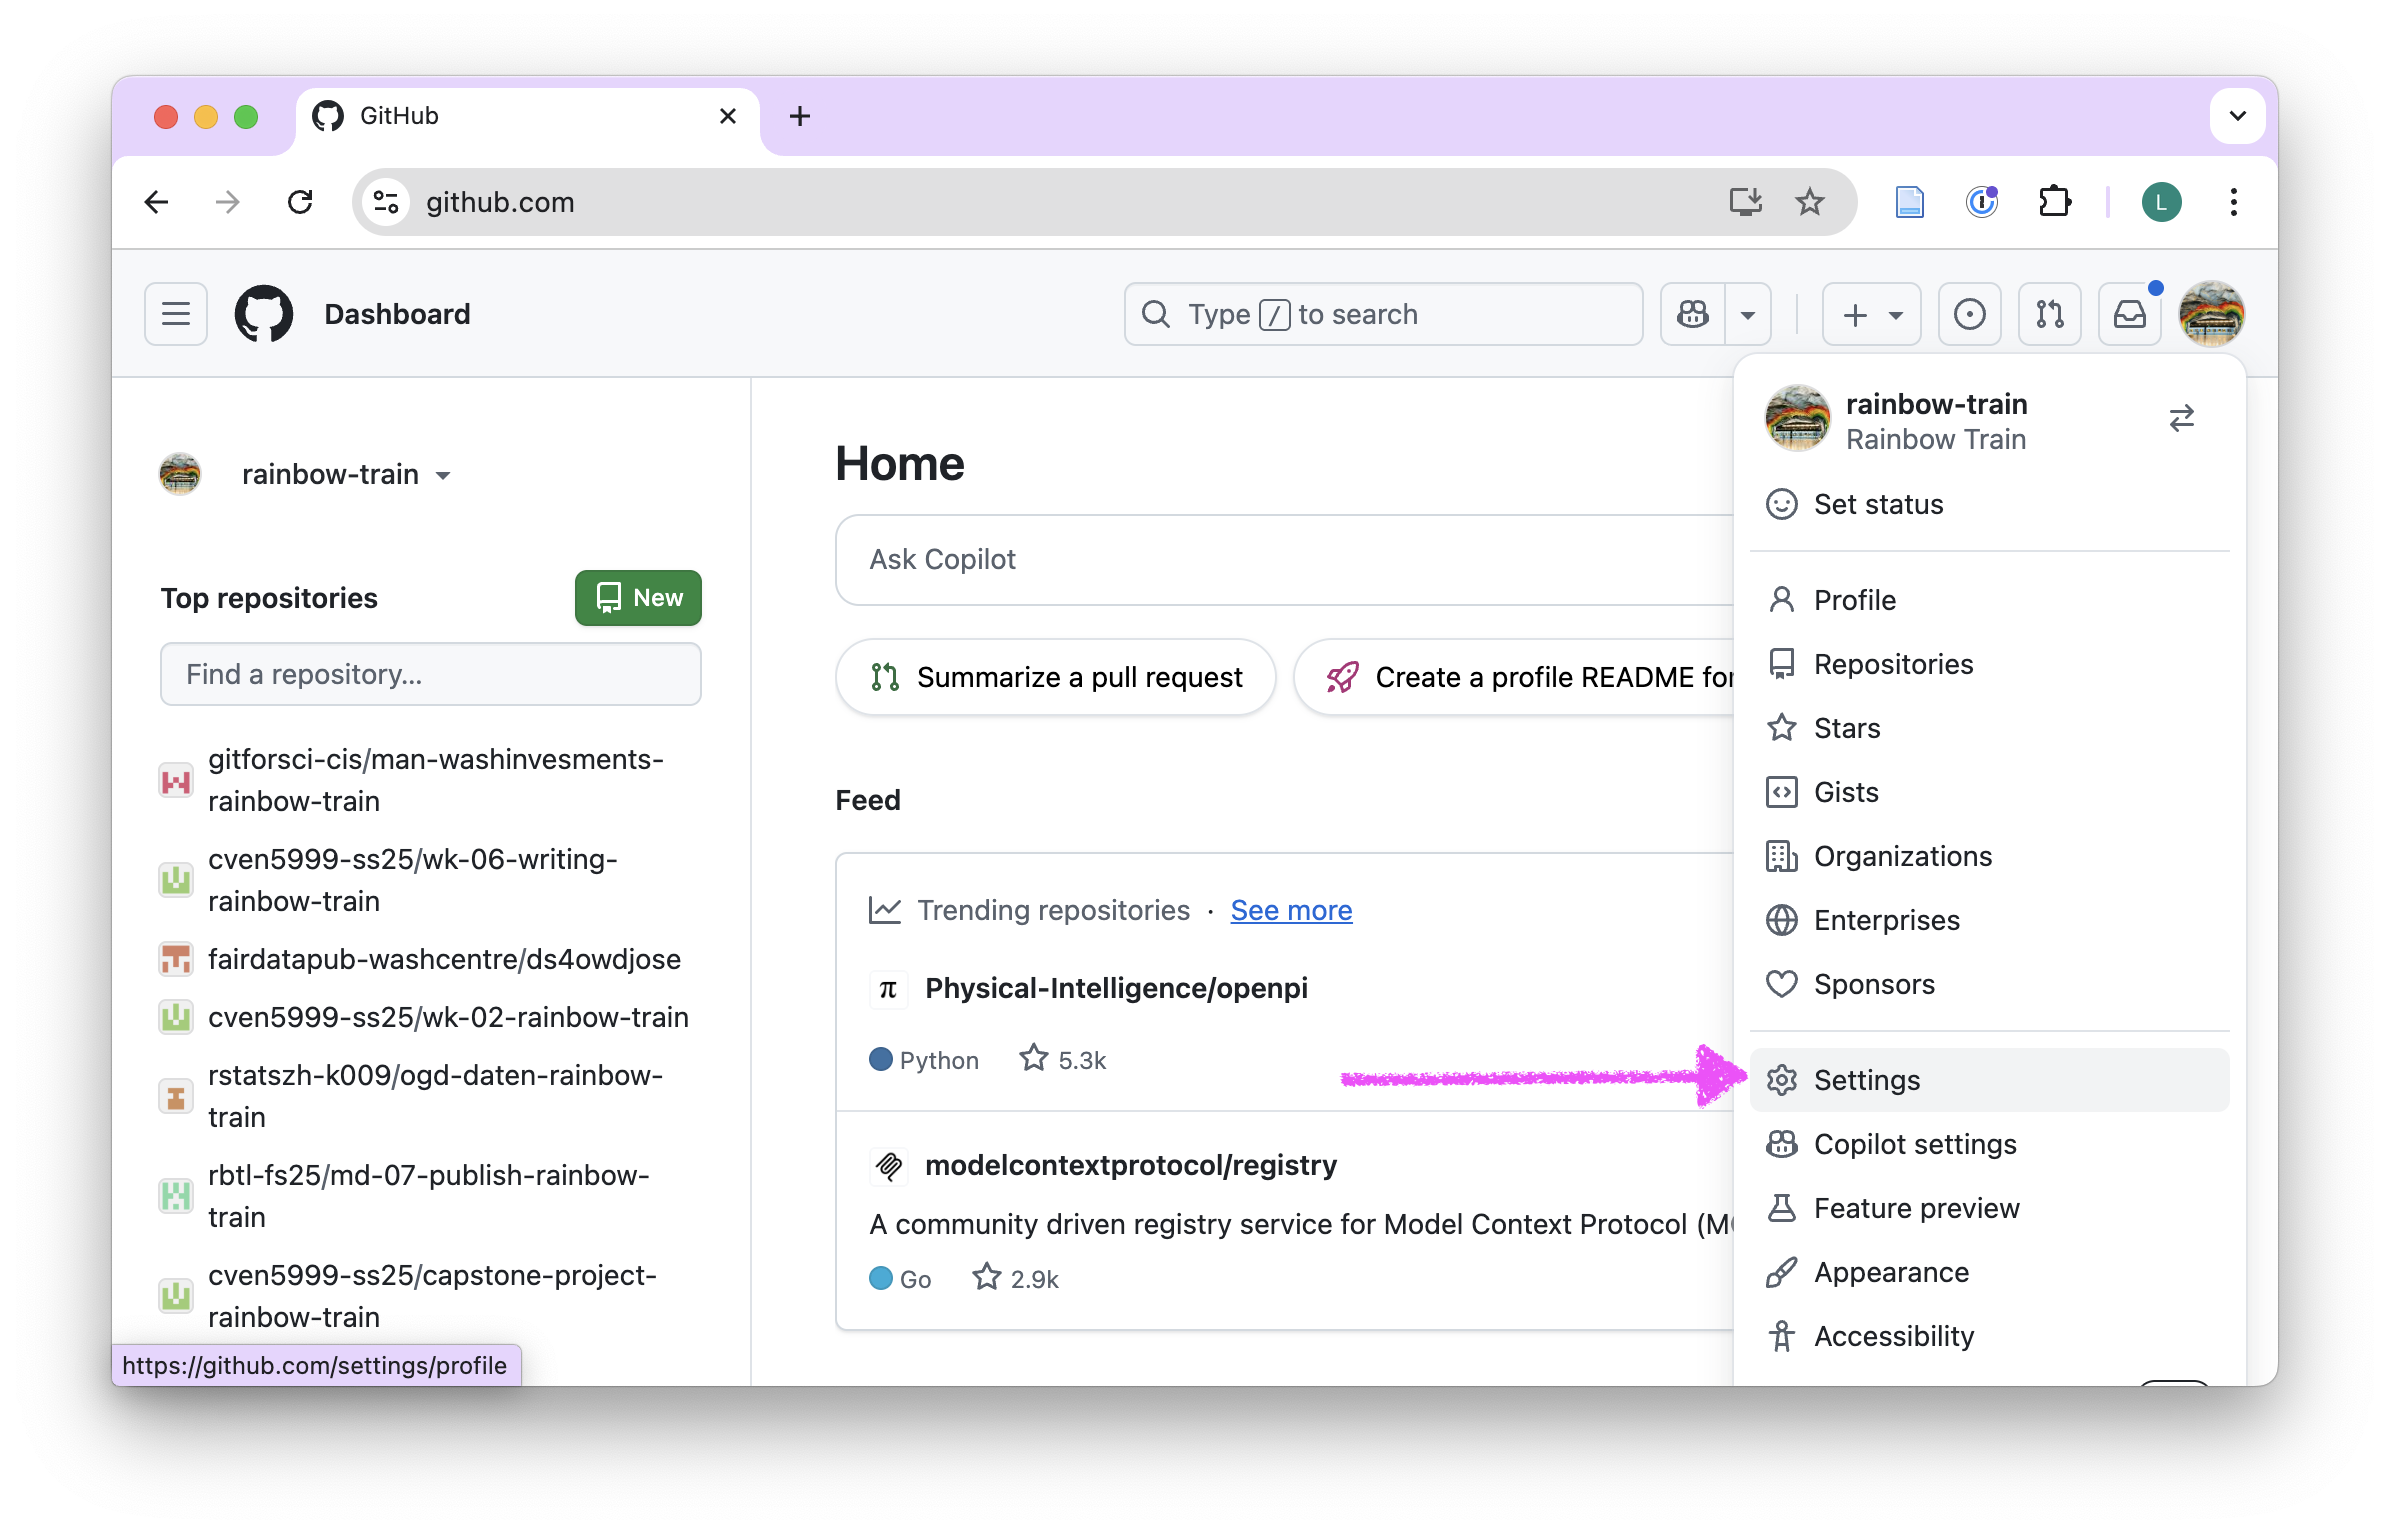
- Select Settings from the dropdown menu.
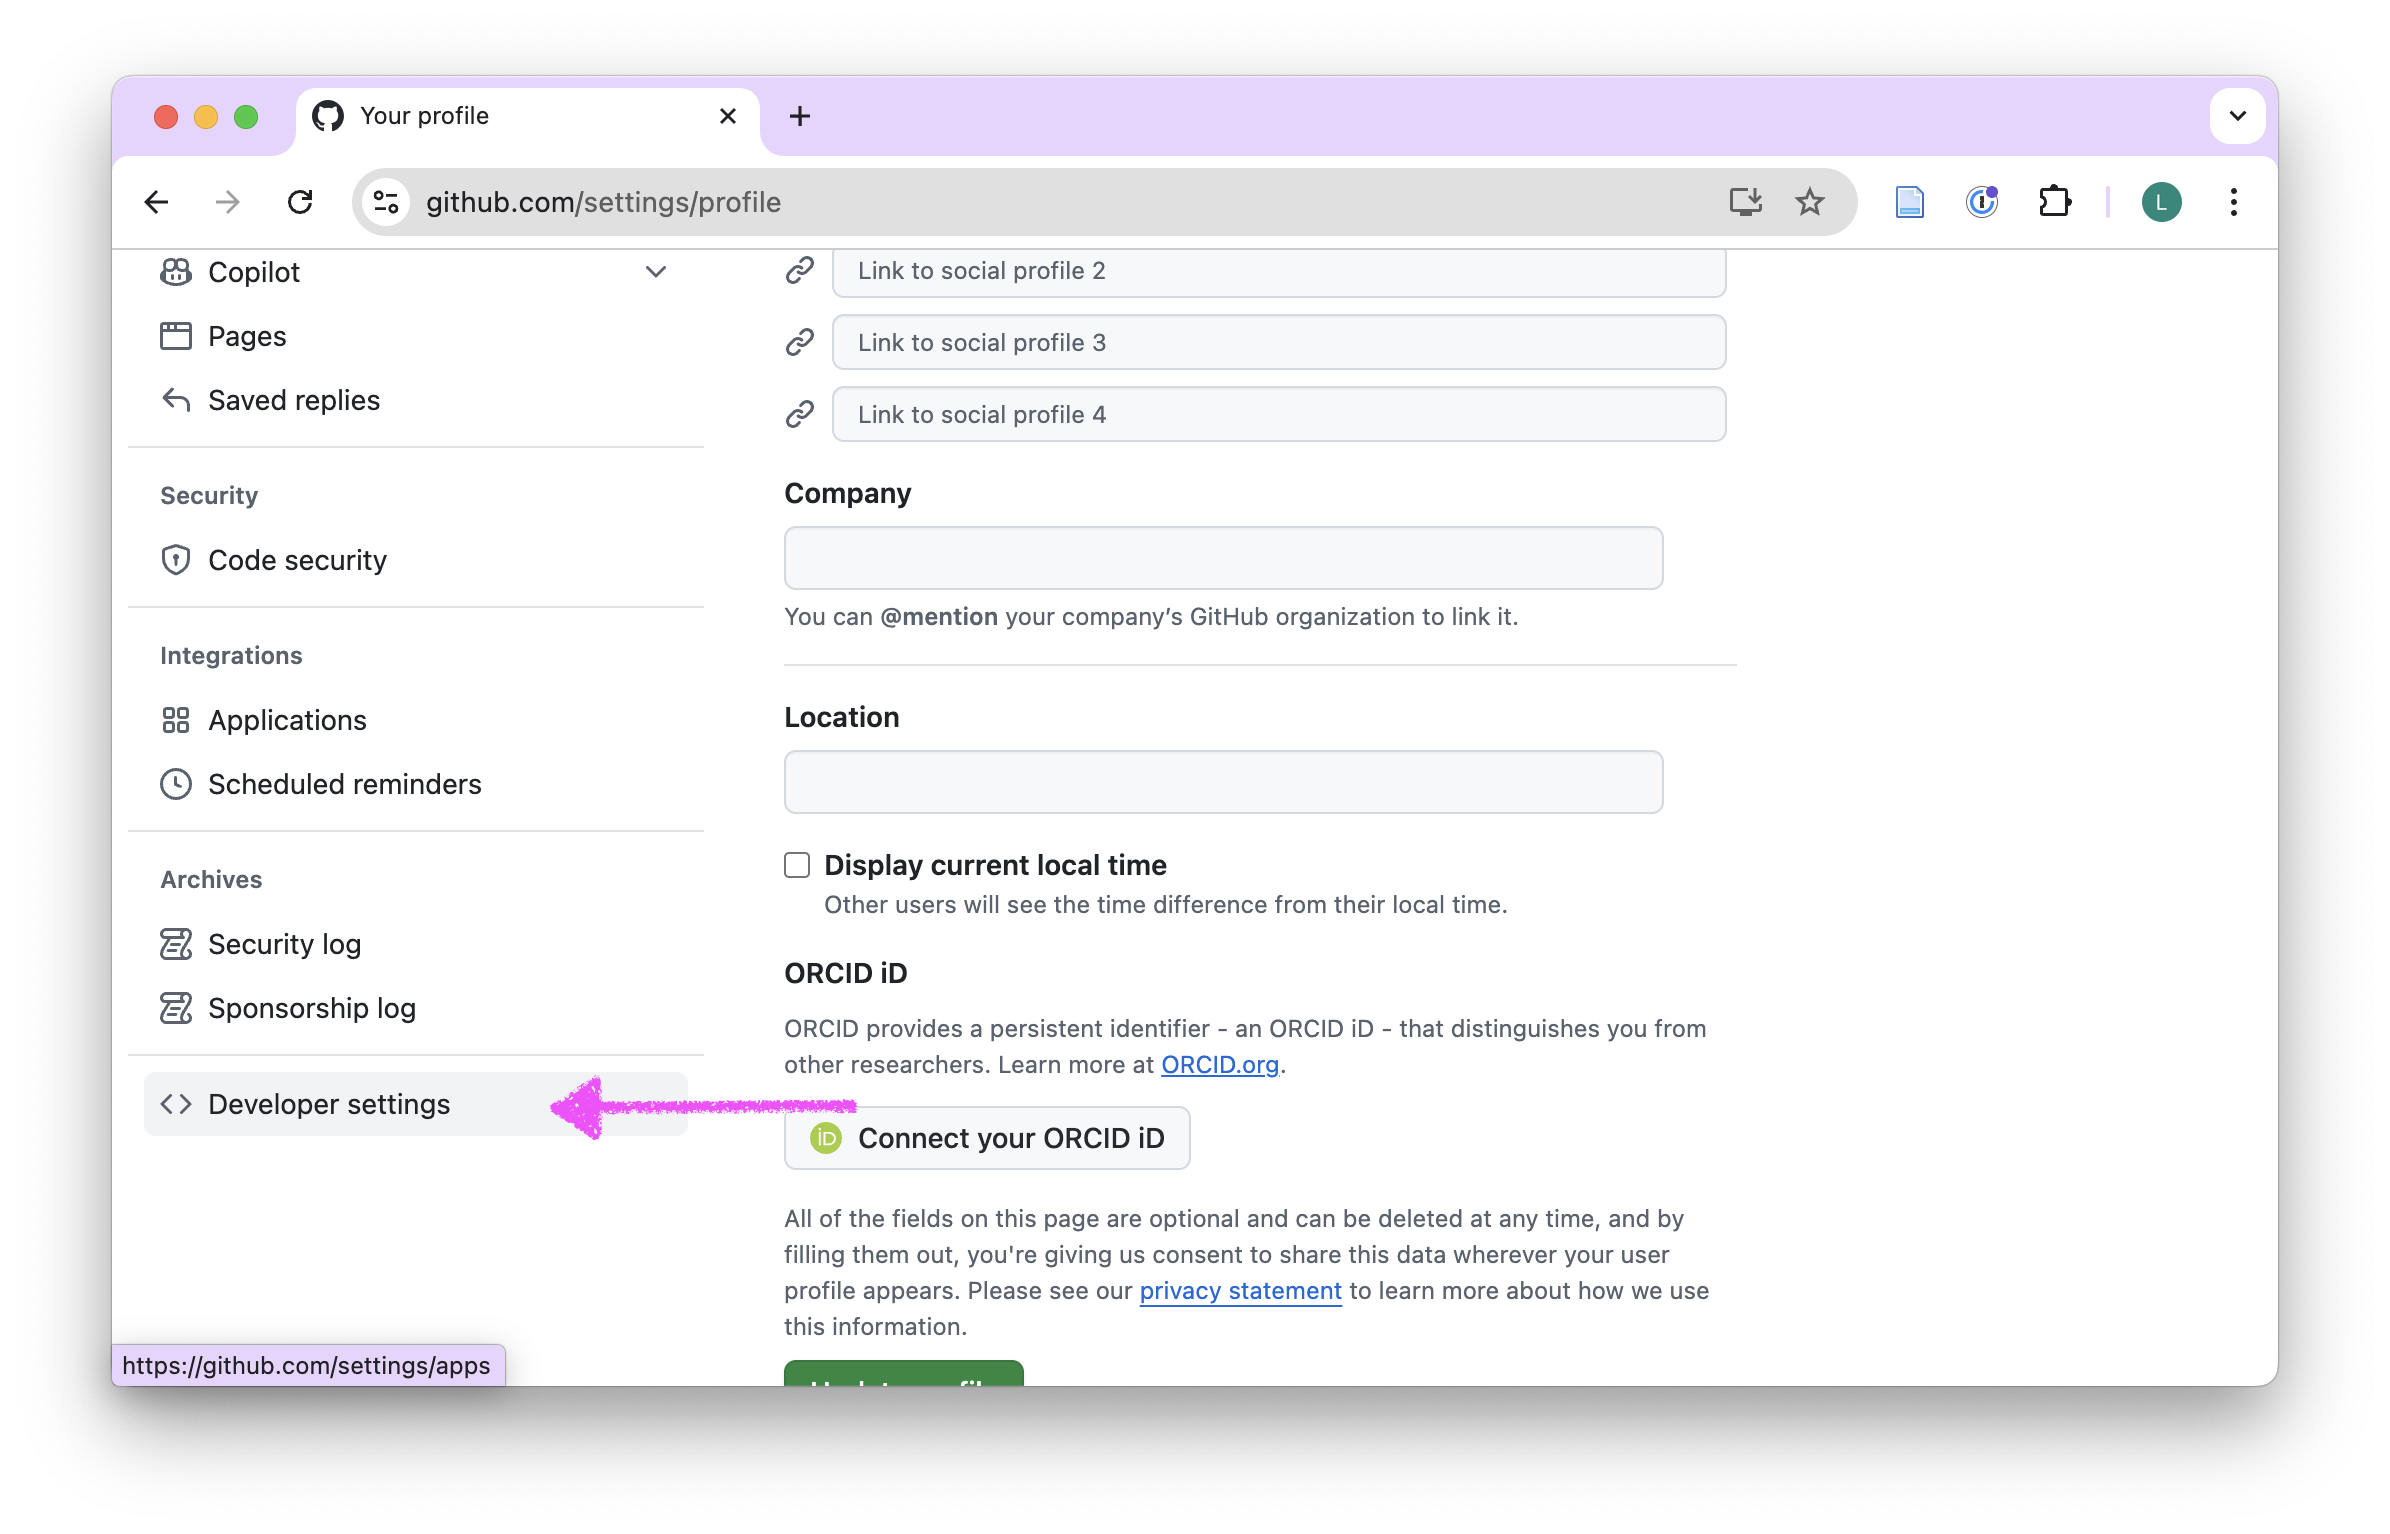
- In the left sidebar, click on Developer settings.
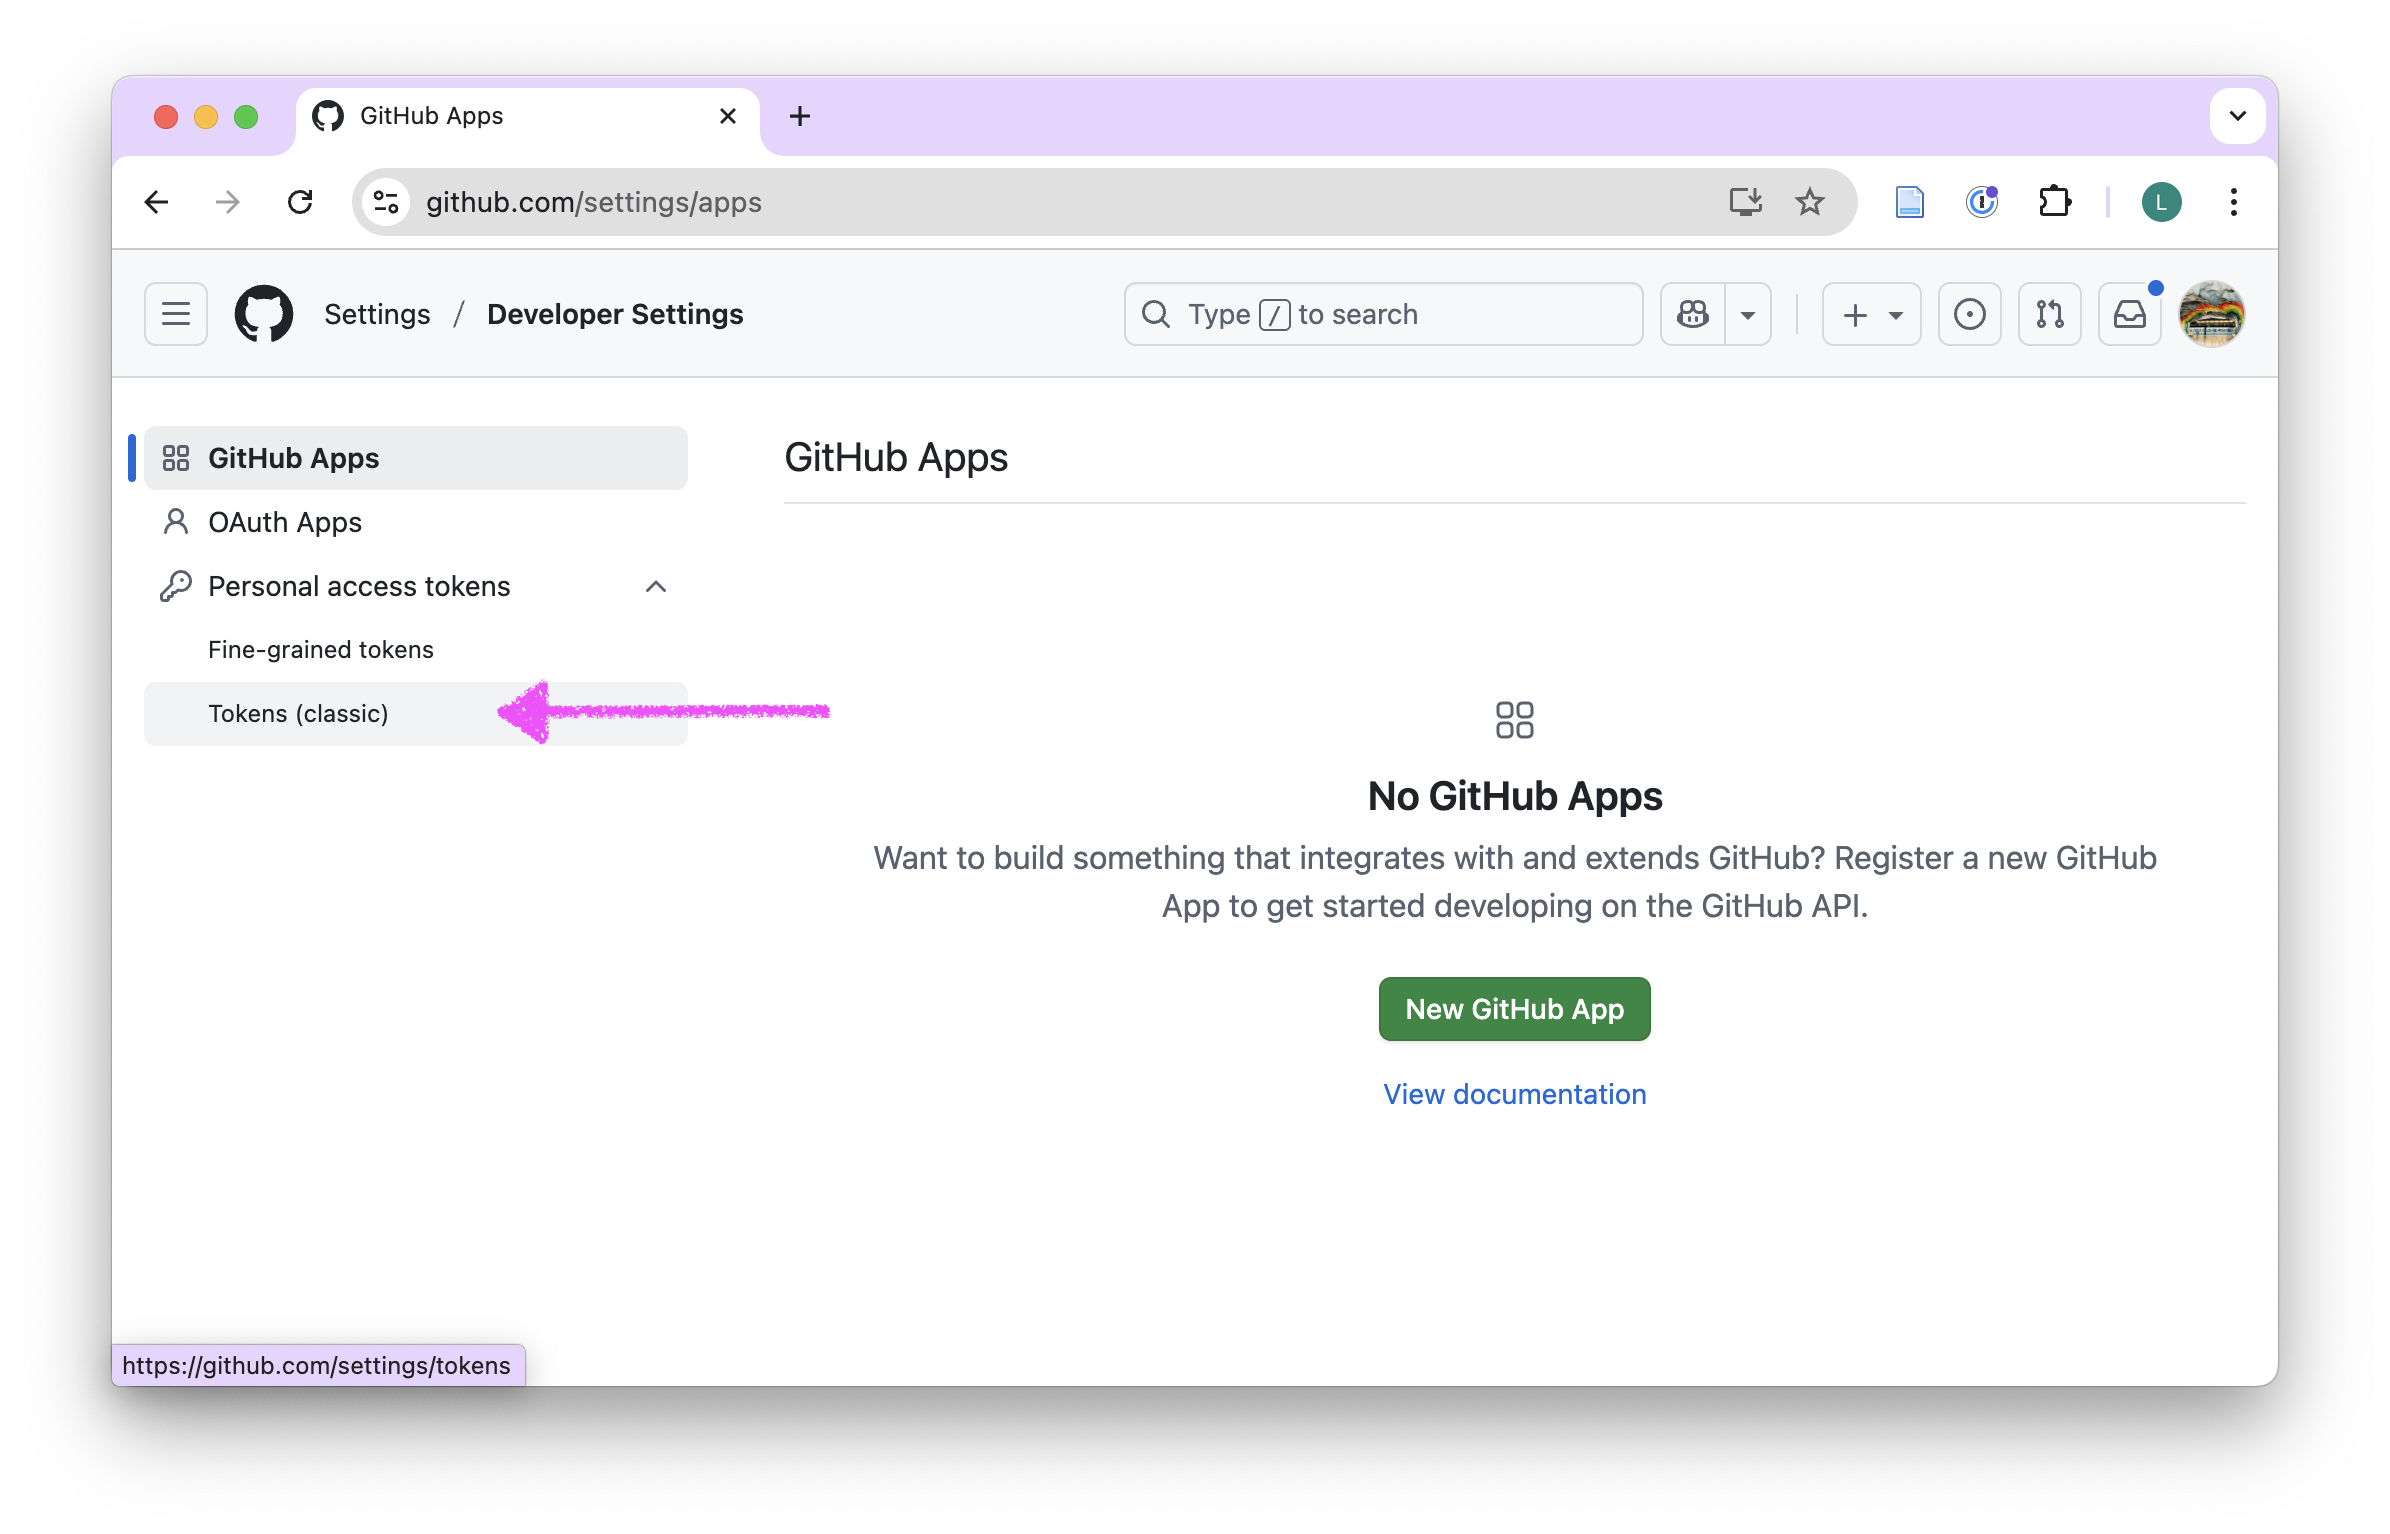
- Click on Personal access tokens.

- Click on “Tokens (classic)”.
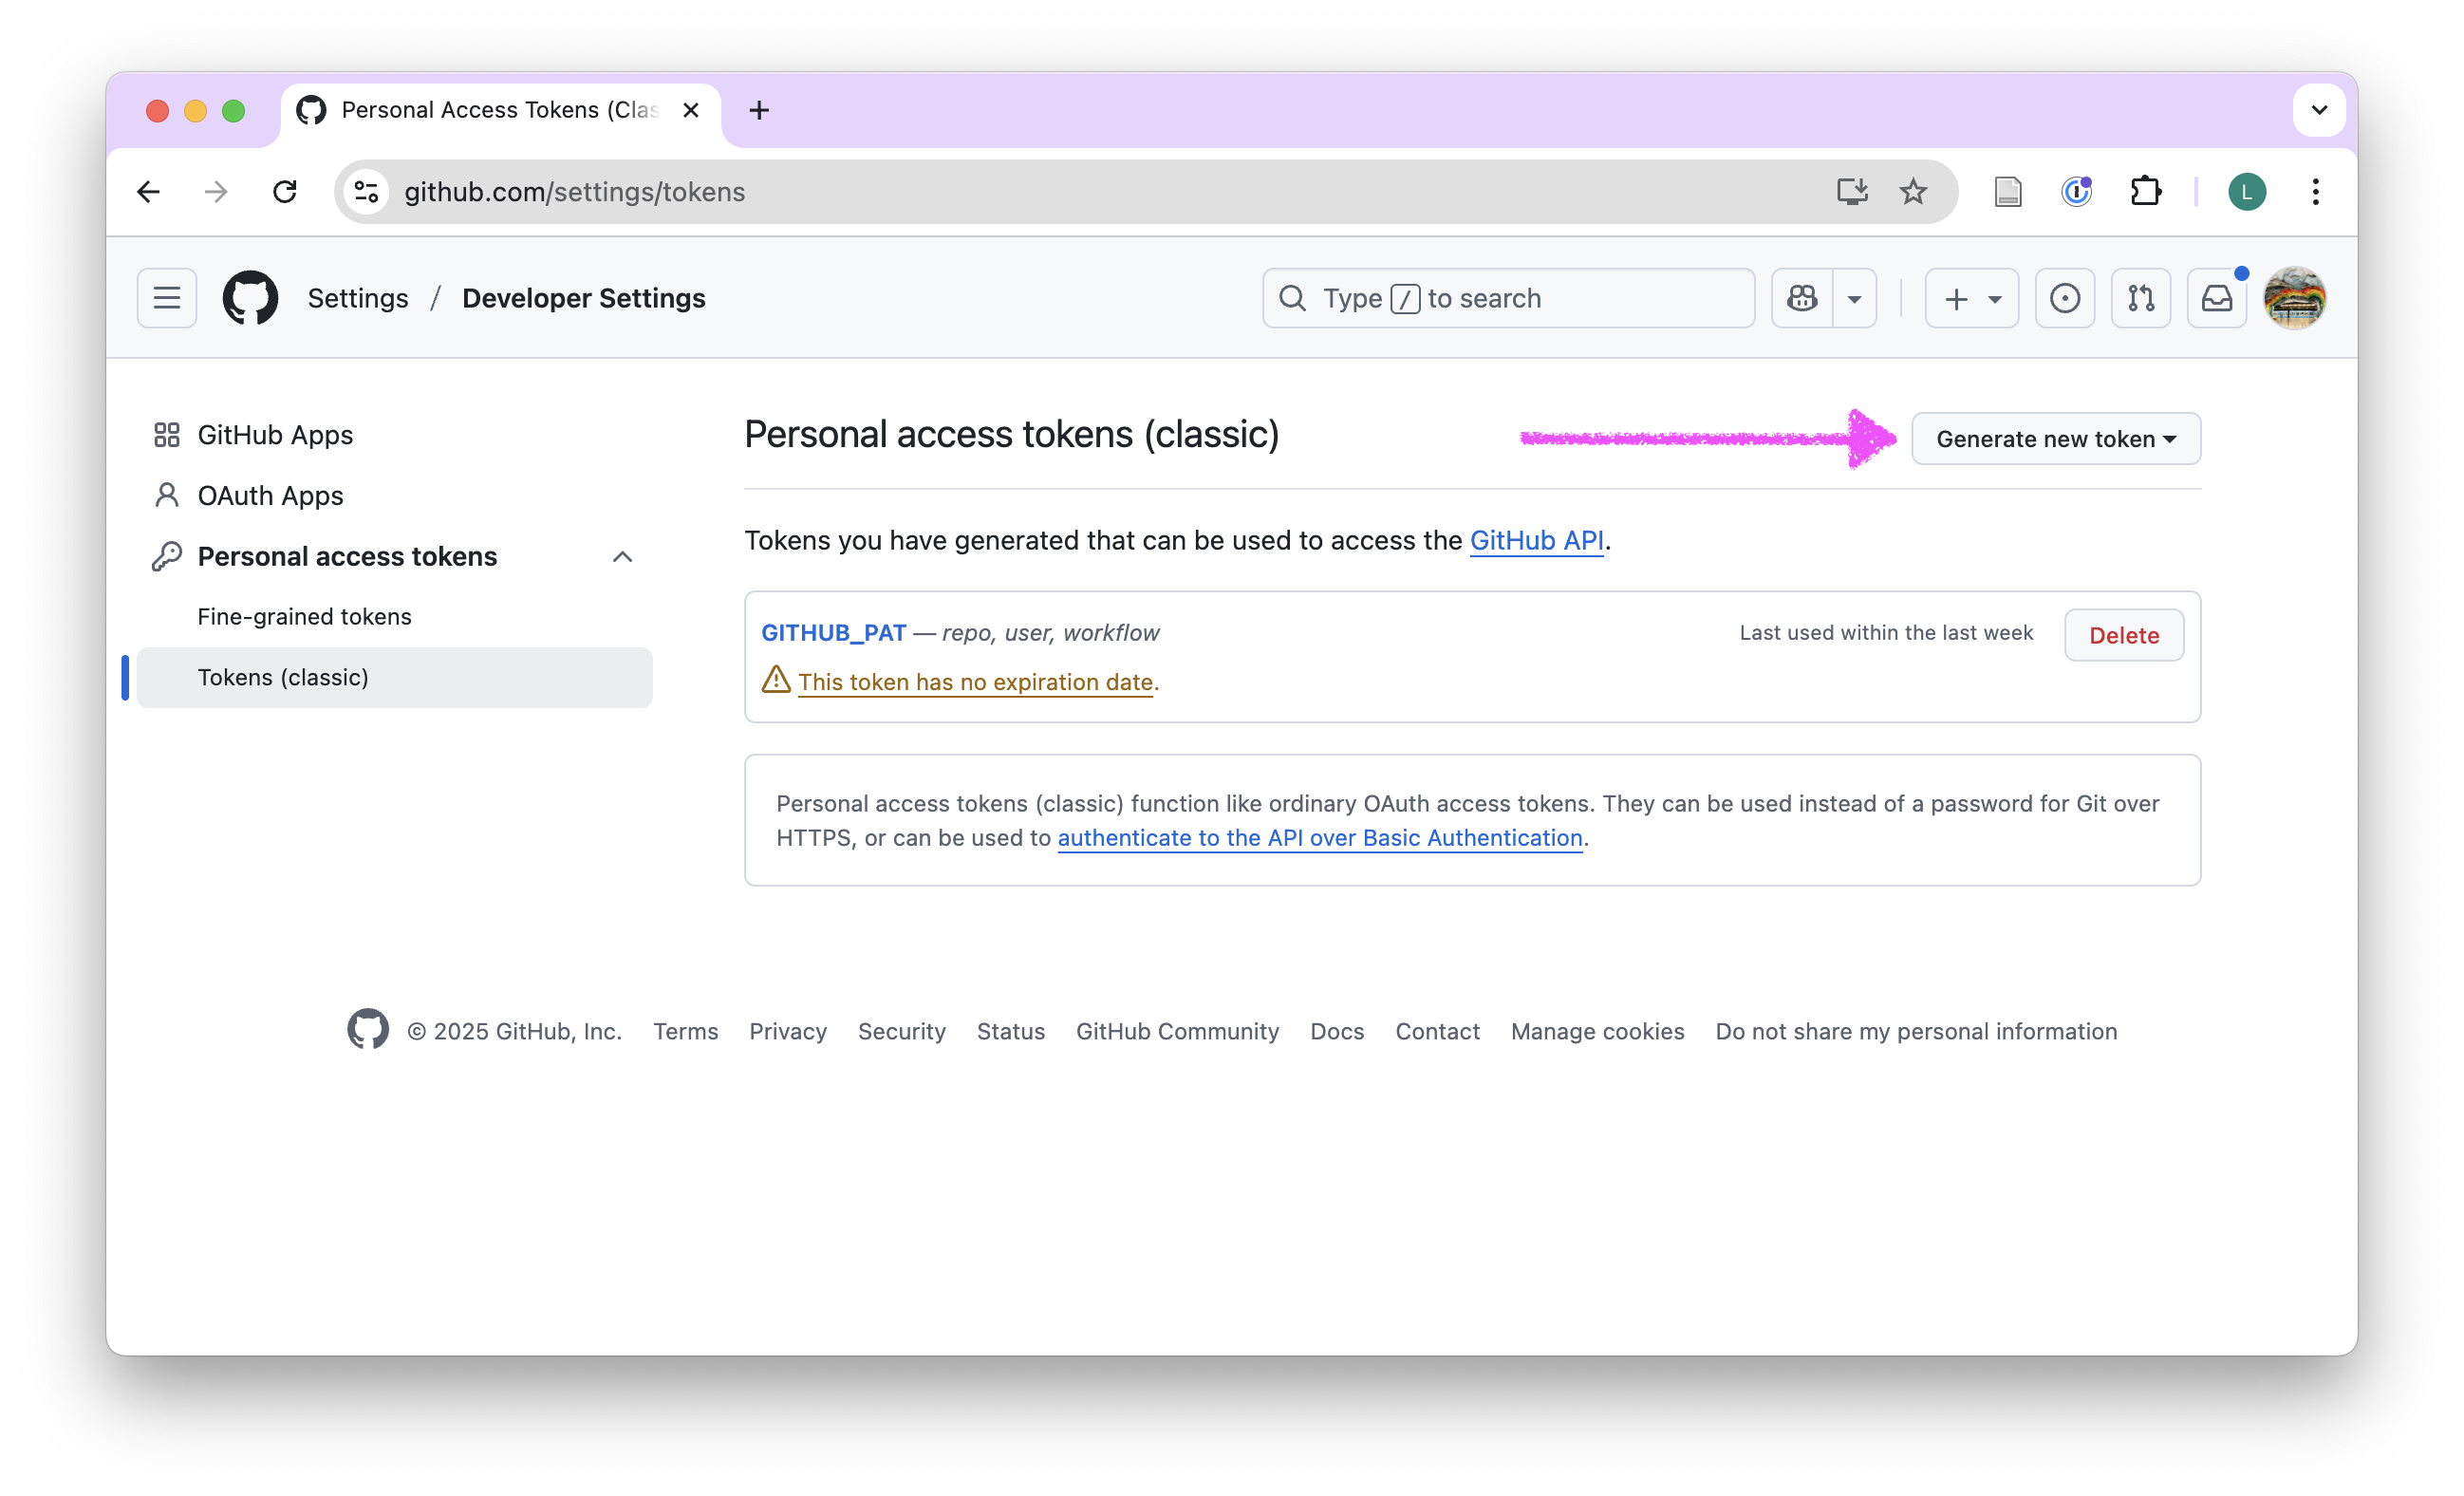
- Click on Generate new token and from the dropdown menu select Generate new token (classic).
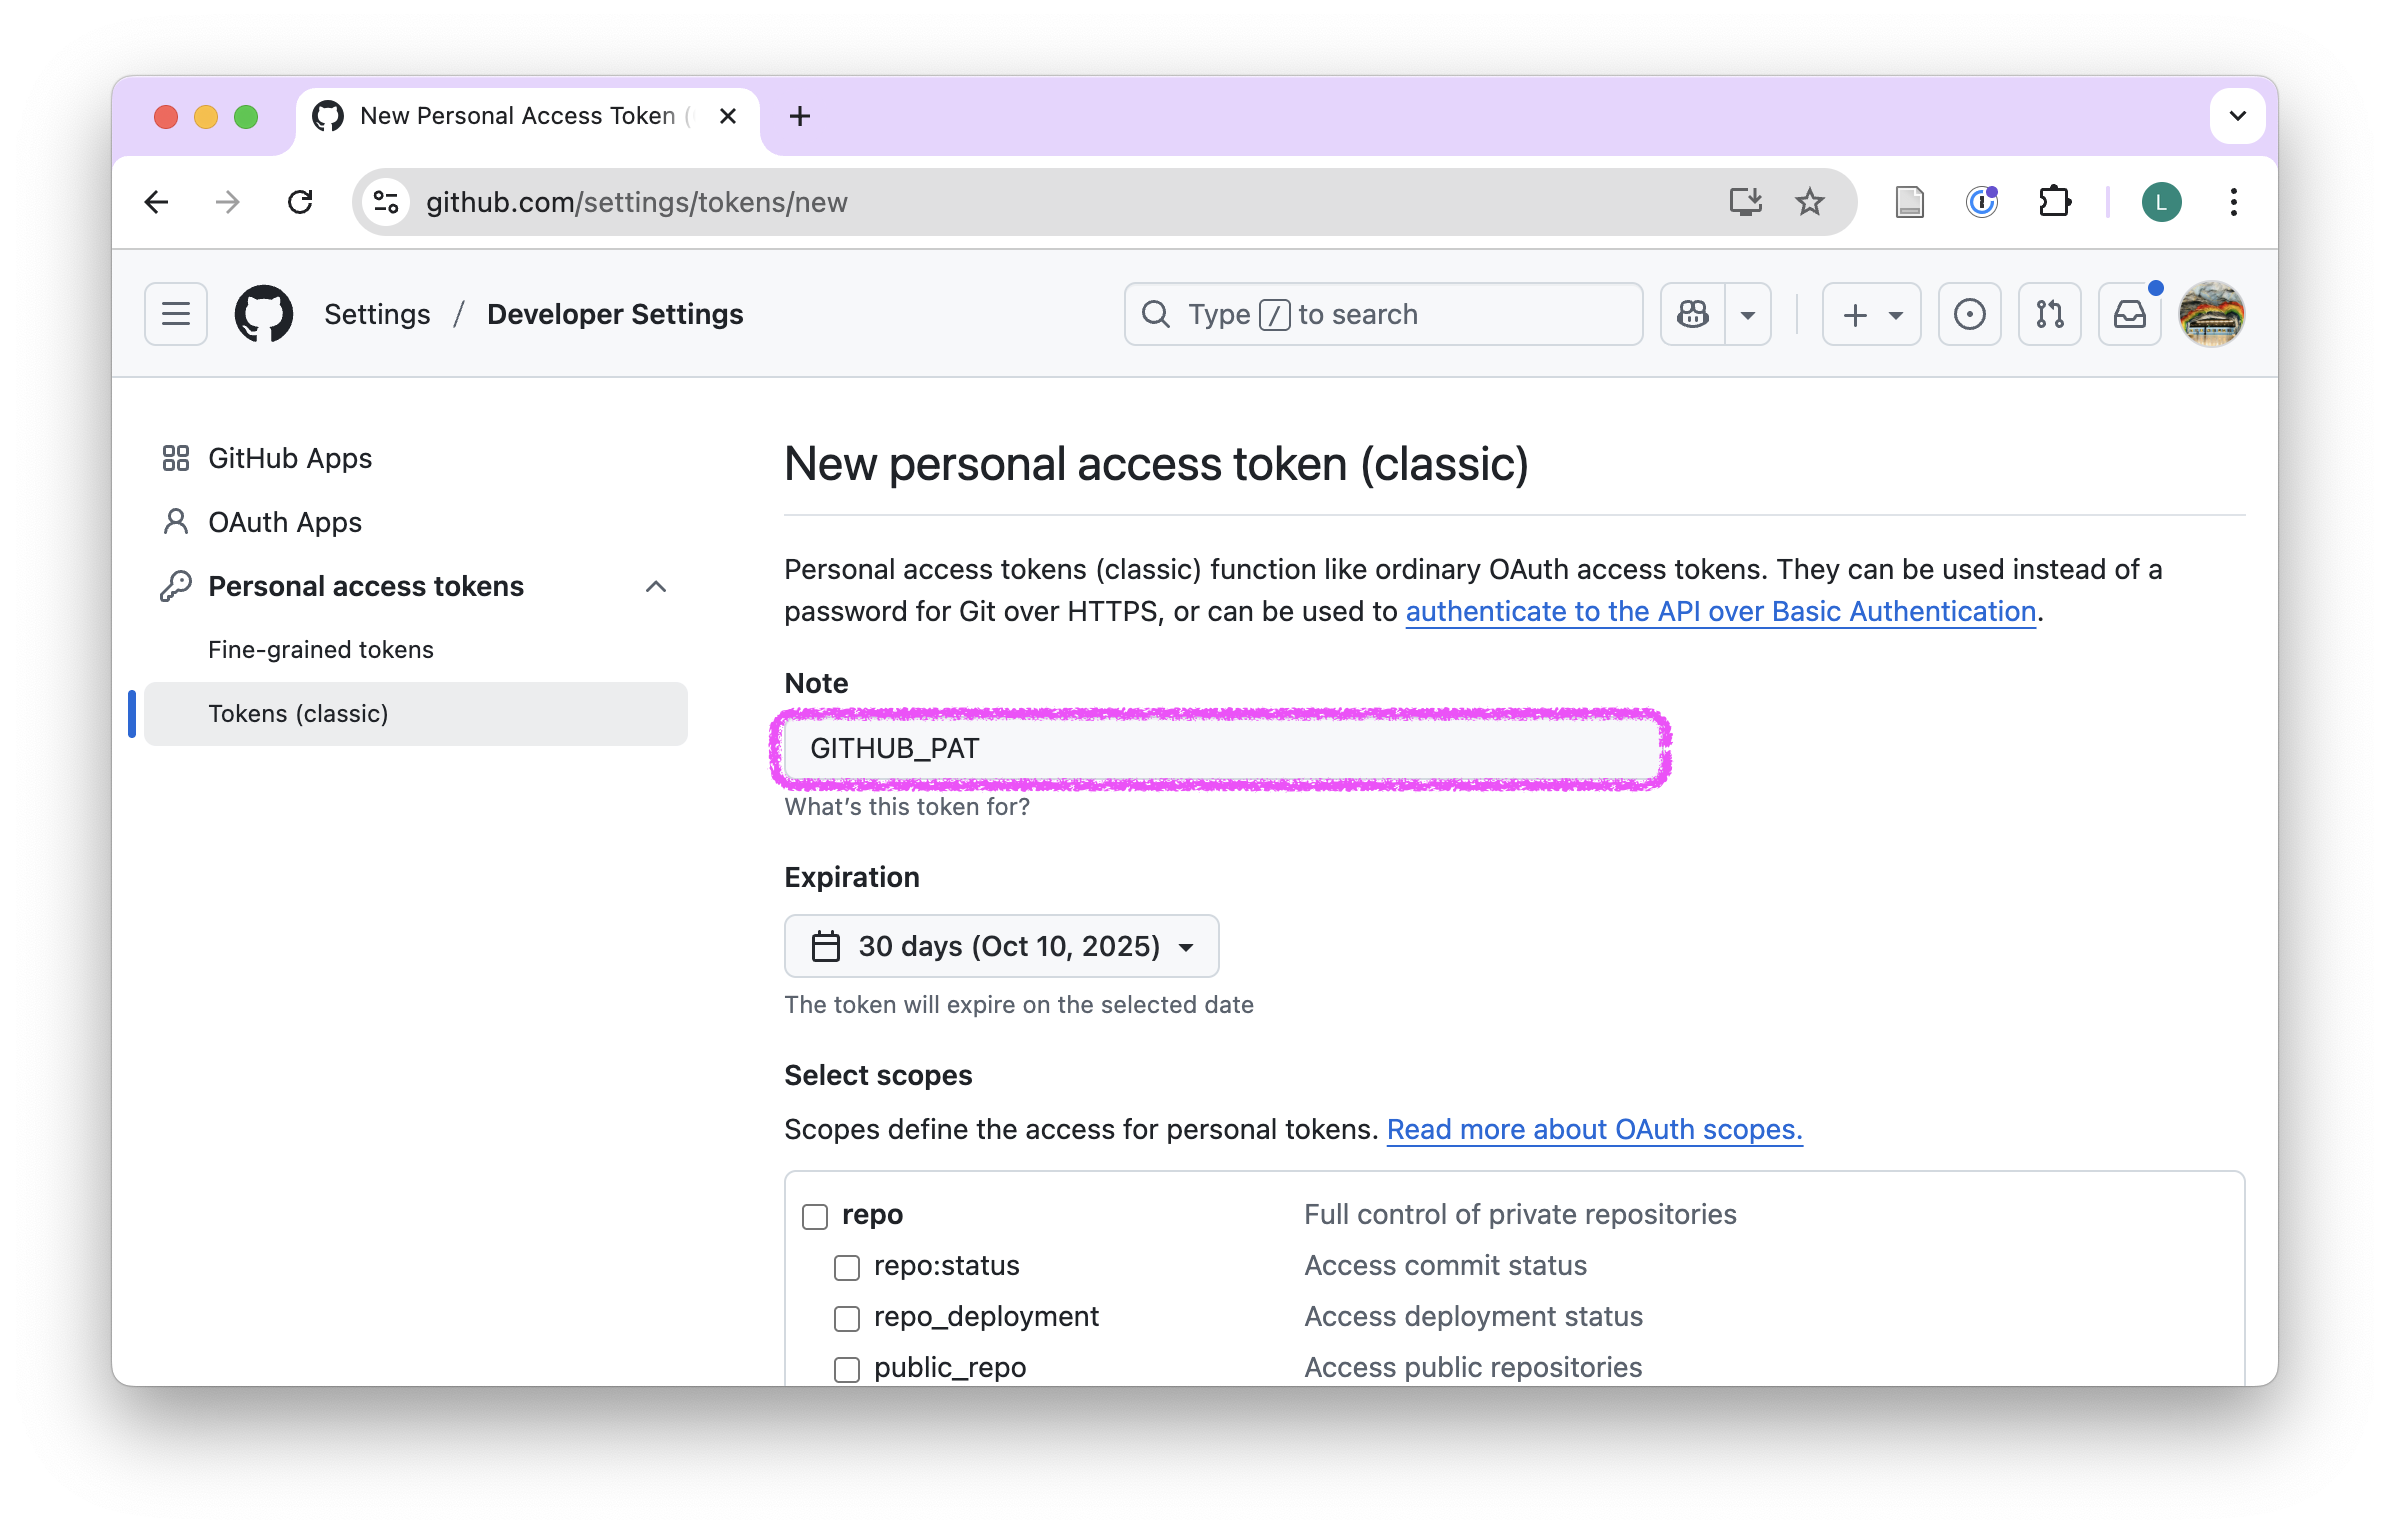
- In the Note field, give your token the name: GITHUB_PAT
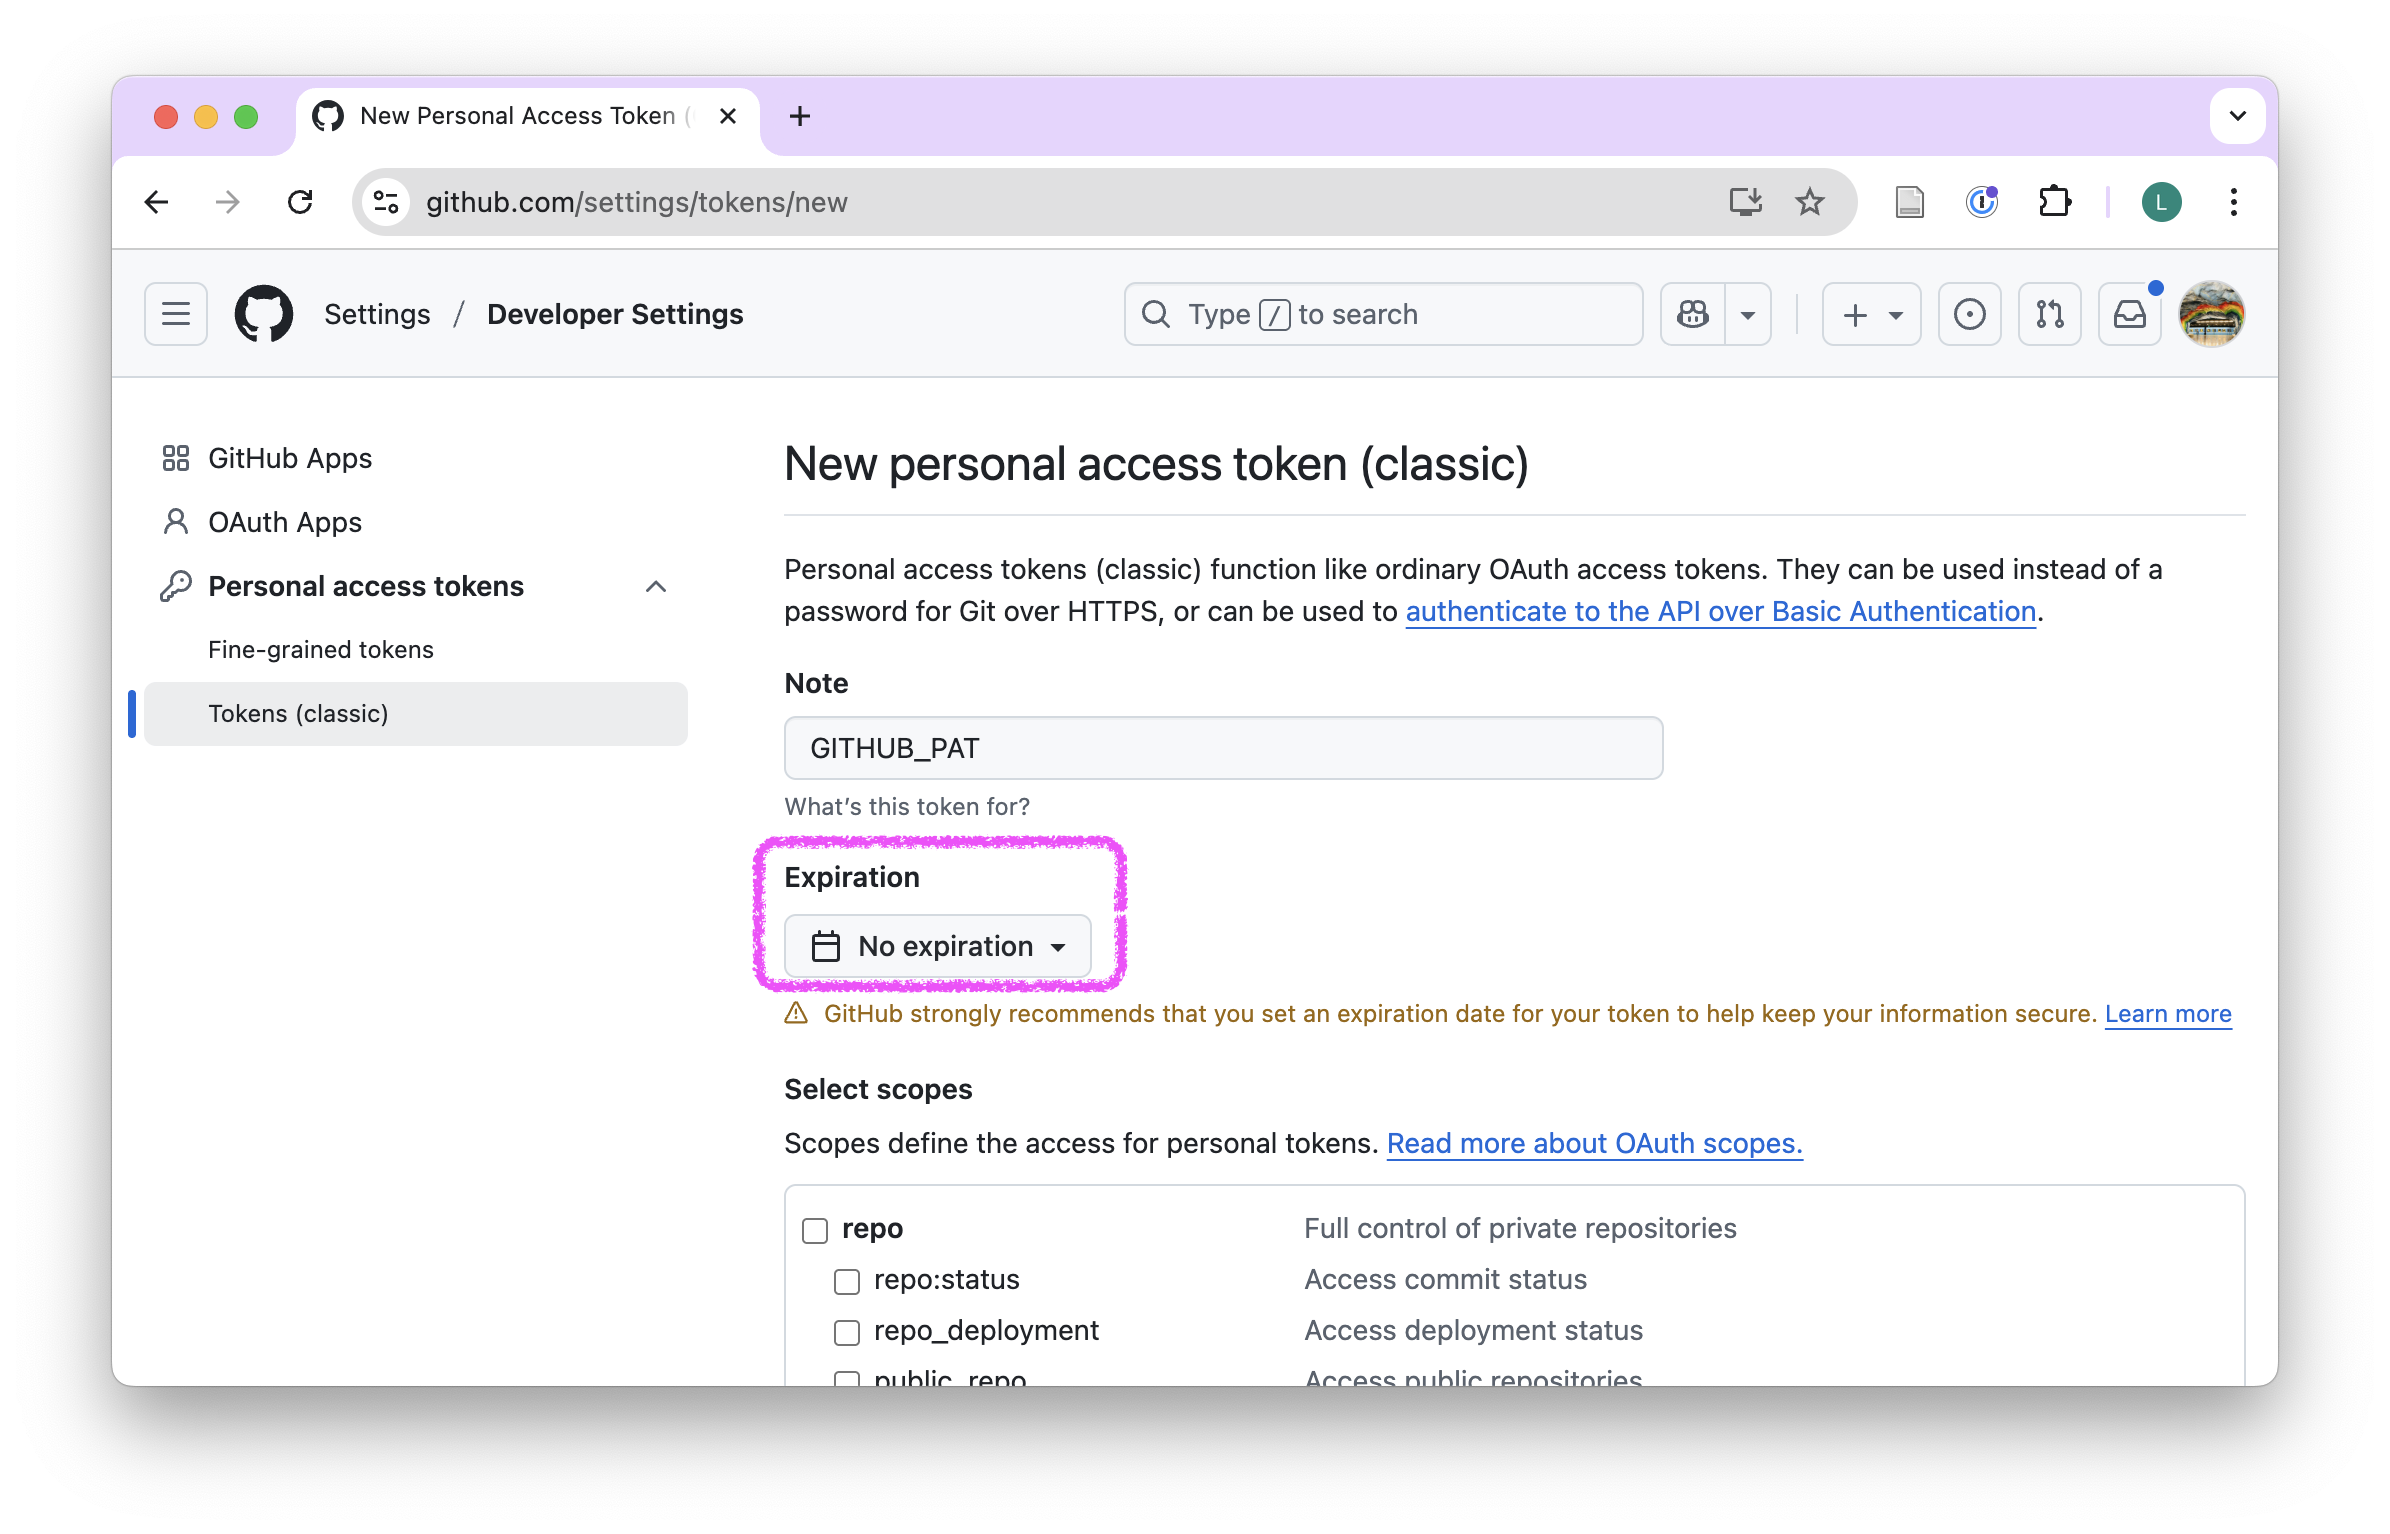
- Under Expiration, select No expiration
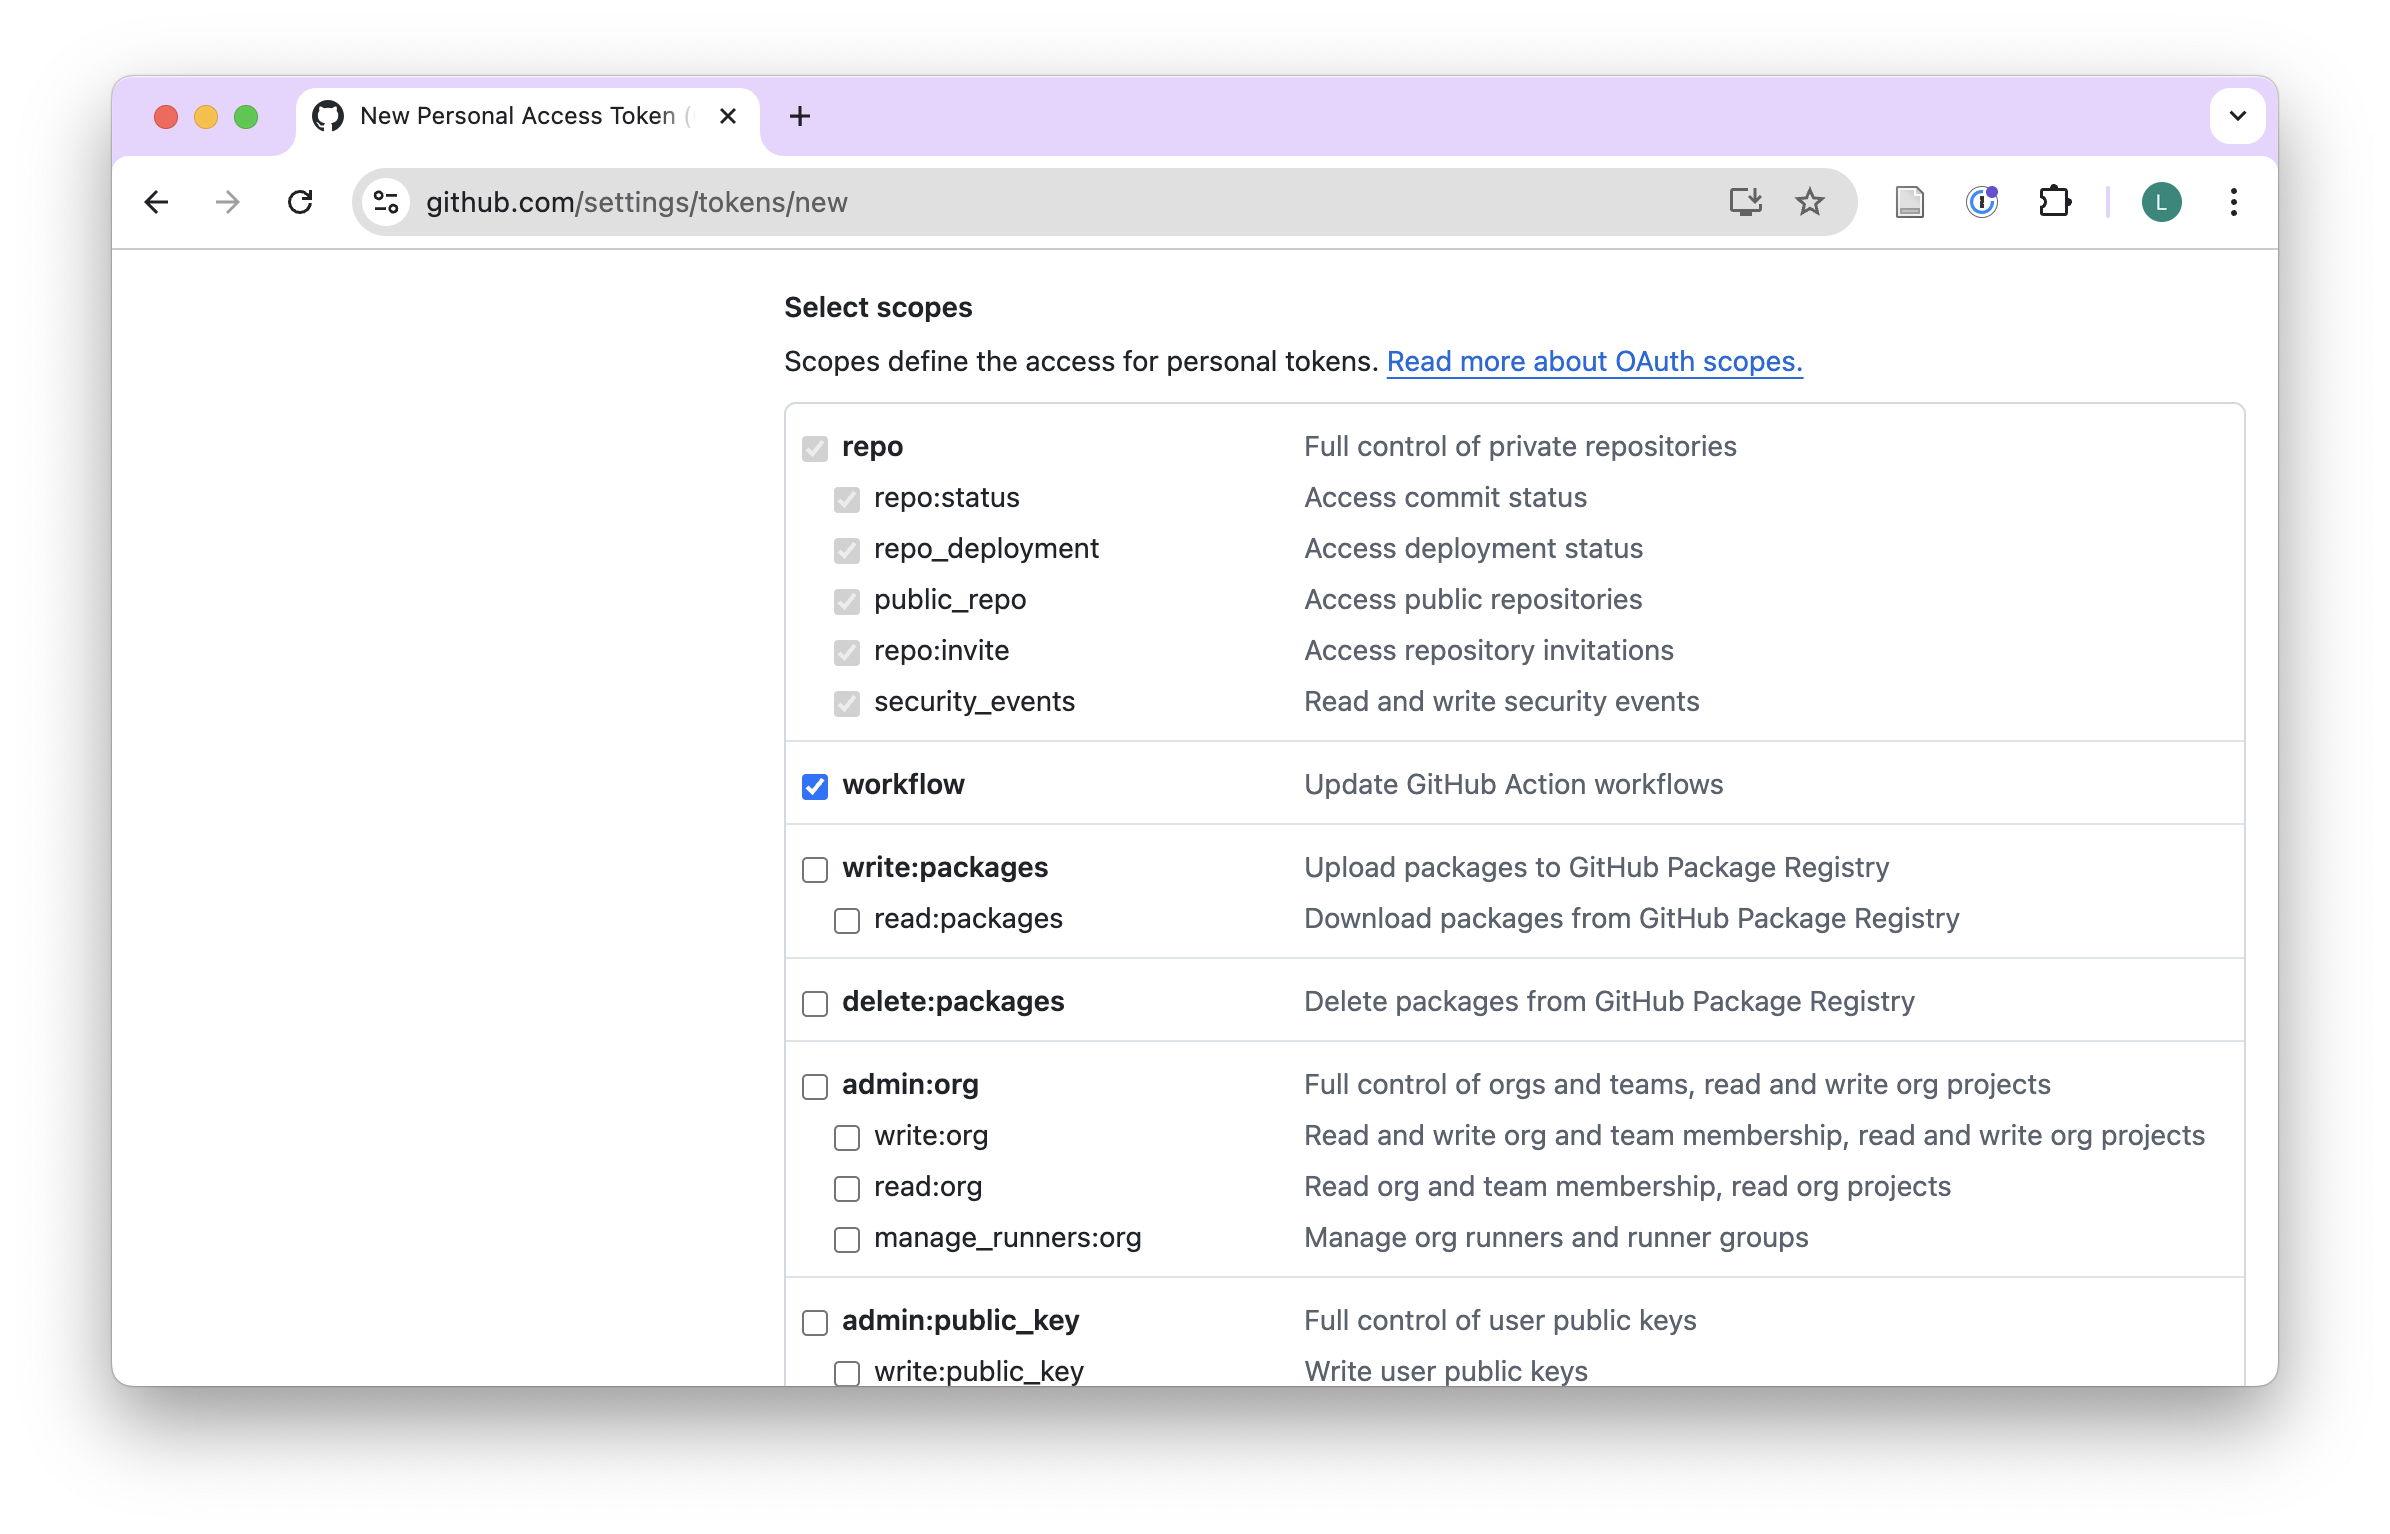
- Under Select scopes, select: repo, workflow
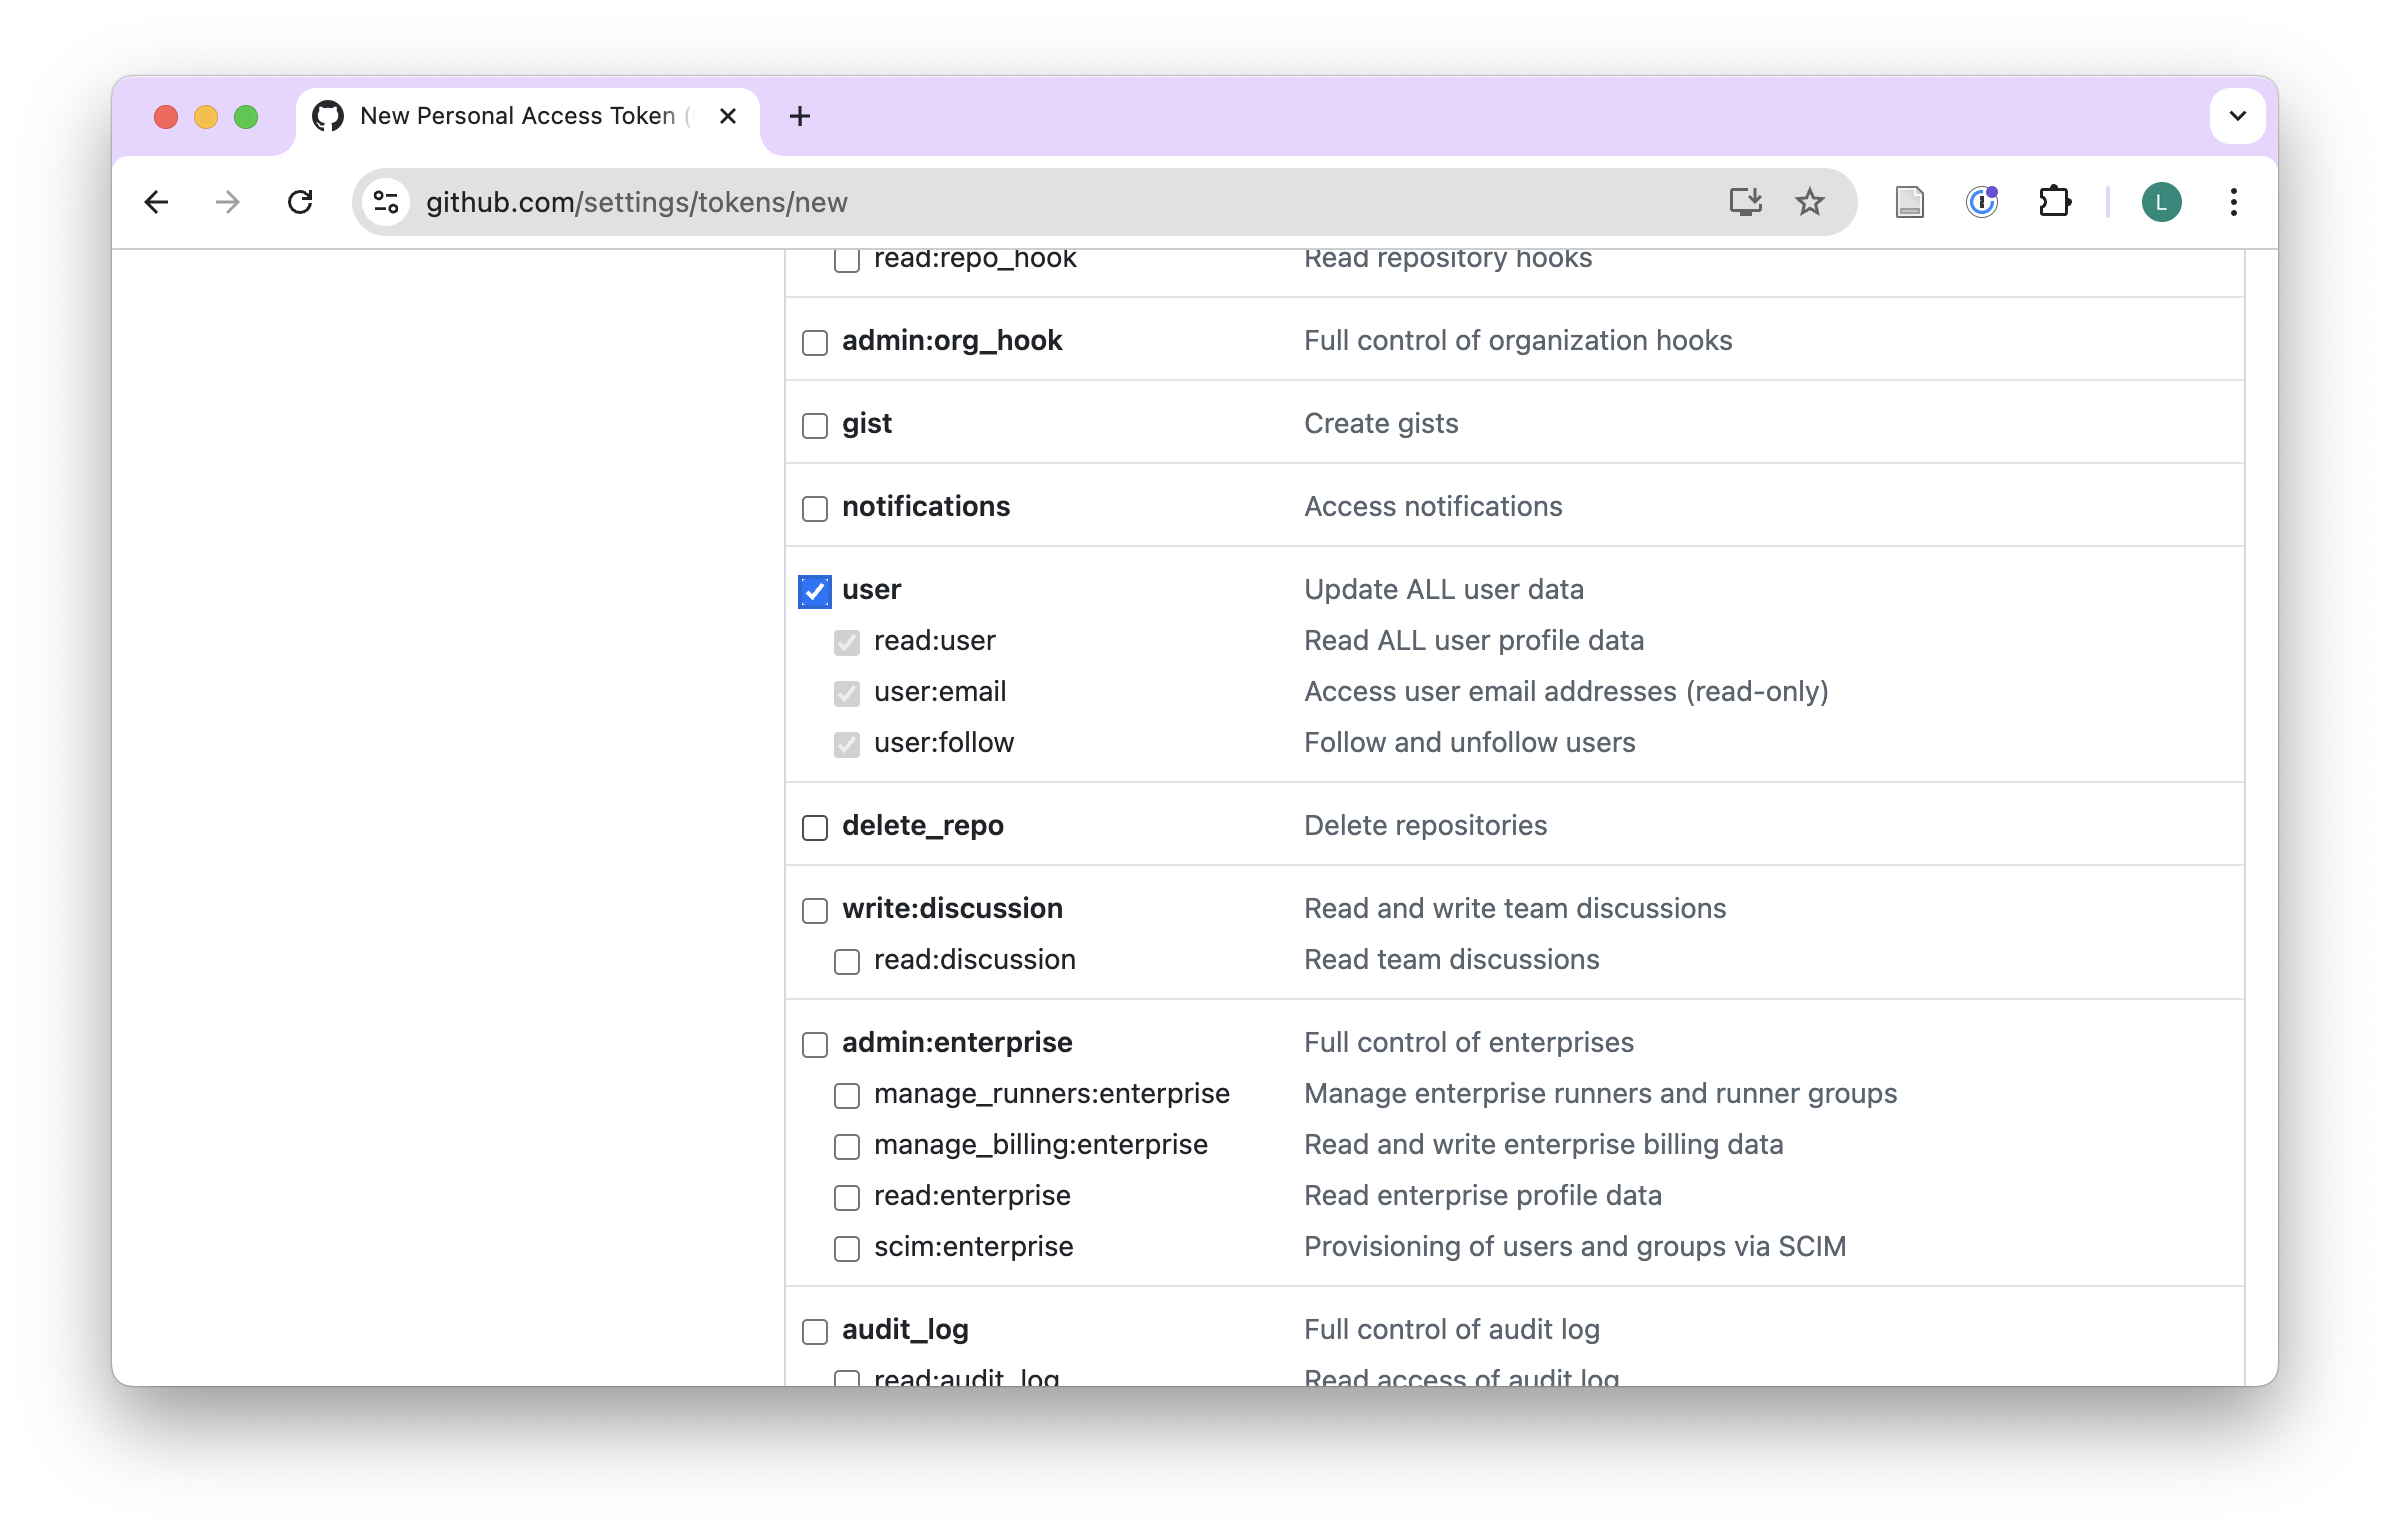
- Also select user a bit further down the list.
- Click on Generate token.
- Your personal access token will be displayed on the screen. Copy it to your clipboard by clicking the copy icon next to the token. Make sure to copy it immediately, as you will not be able to see it again after you leave the page.
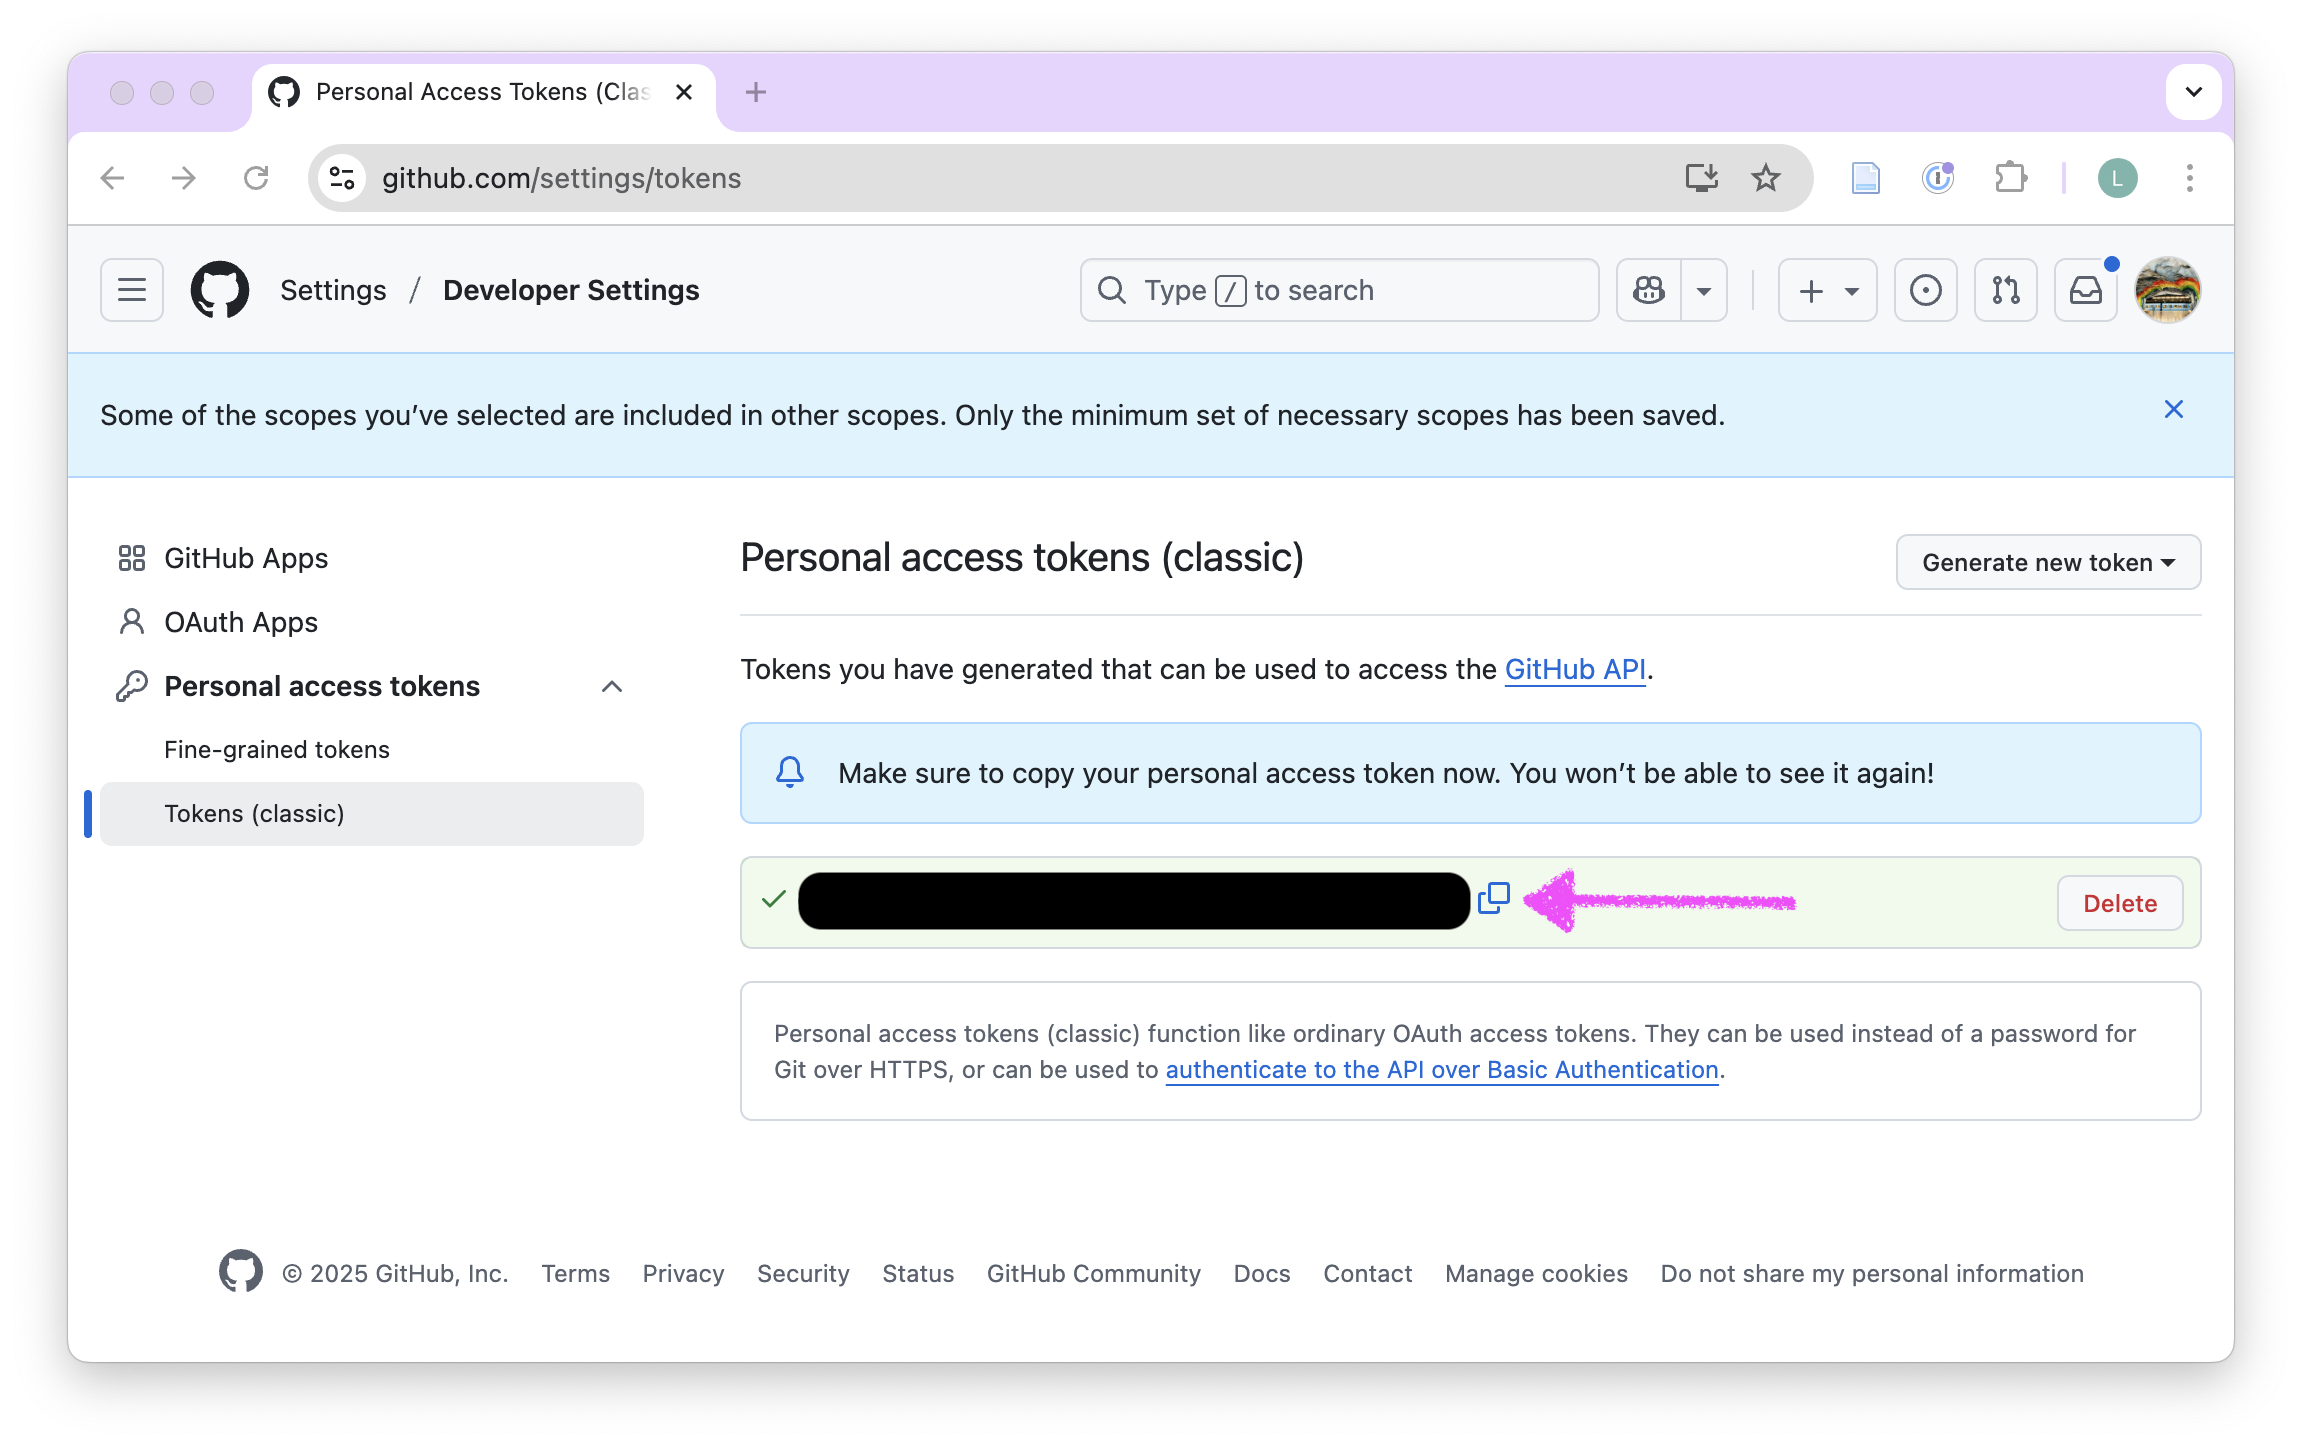
- Do not copy and store the token in a Word document (DOCX). Copy and store the token in an appropriate password manager. If you do not have a password manager, you can use a text file (.txt), but make sure to keep it secure and do not share it with anyone. On Windows, you can use Notepad, and on macOS, you can use TextEdit.
Tip
You will need this token in your pre-course work and throughout the course. Make sure to keep it secure and do not share it with anyone. If you lose the token, you can generate a new one.
Continue with the next assignment: Clone a GitHub repository.